Mini Ghost Lightshttps://thecozyhauntedhouse.com/wp-content/uploads/2022/10/mini-ghost-light-lamp-tutorial-1024x536.jpg1024536chantilechantilehttps://secure.gravatar.com/avatar/e1b0e12916e309c5196239c05b523882?s=96&d=mm&r=g
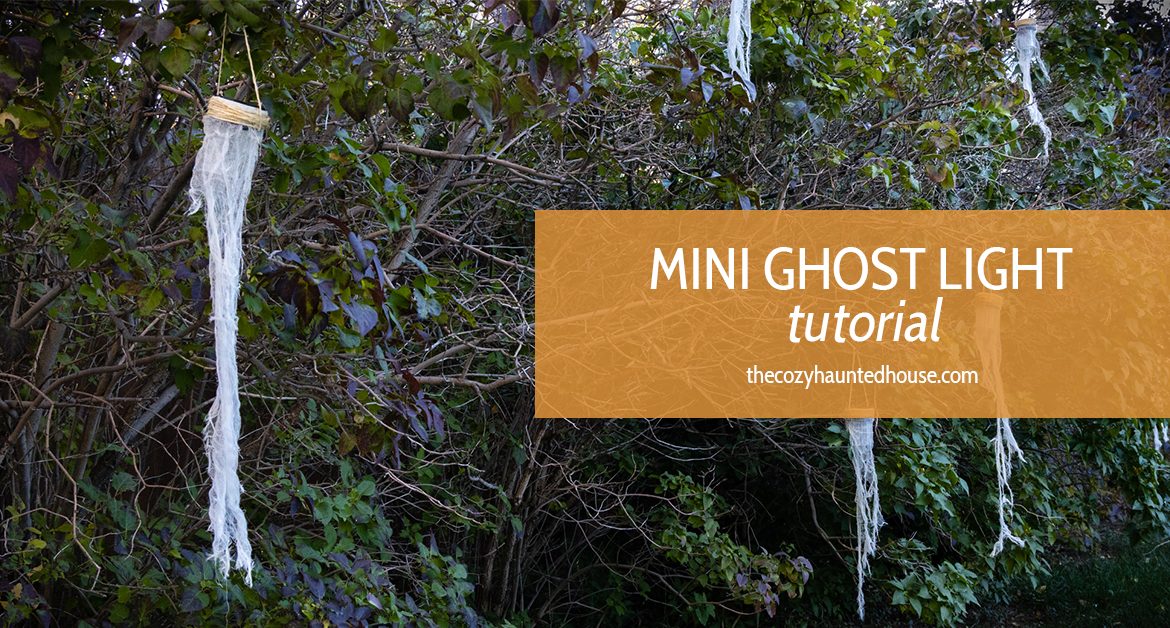
Add some spooky charm to your outdoor decor with these mini ghost lights! They’re easy, inexpensive, and add can make even the smallest garden or porch extra haunted!
Note: Some of the links below are affiliate links. This means that, at zero cost to you, we will earn an affiliate commission if you click through the link and finalize a purchase.
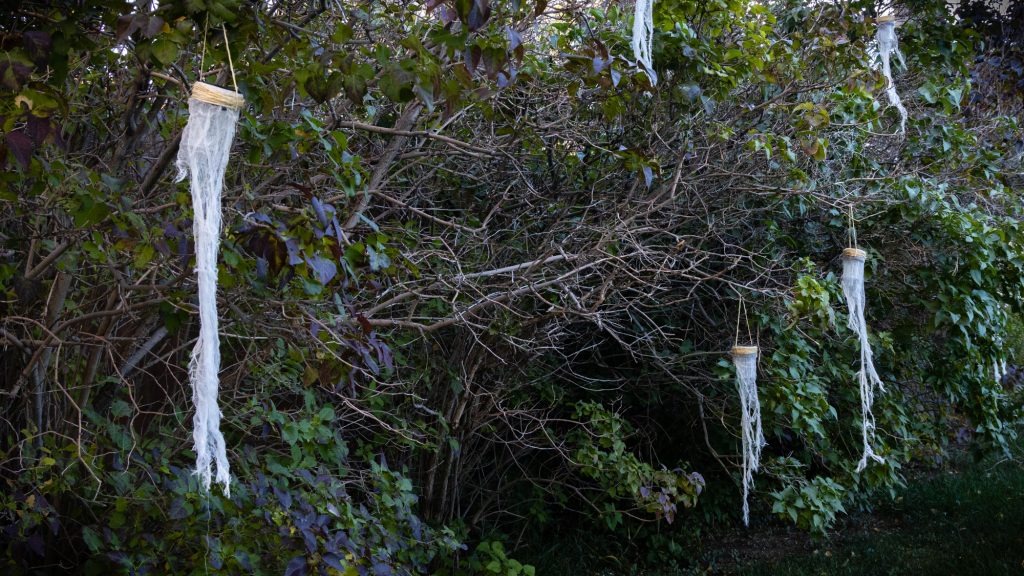
We wanted to create some spooky lighting to highlight our lilac bushes behind the scary tree projectors, and came up with these mini ghost lights!
We’ve seen a lot of larger versions made, but they were too heavy for our bushes and what we wanted, so we decided to make smaller ones.
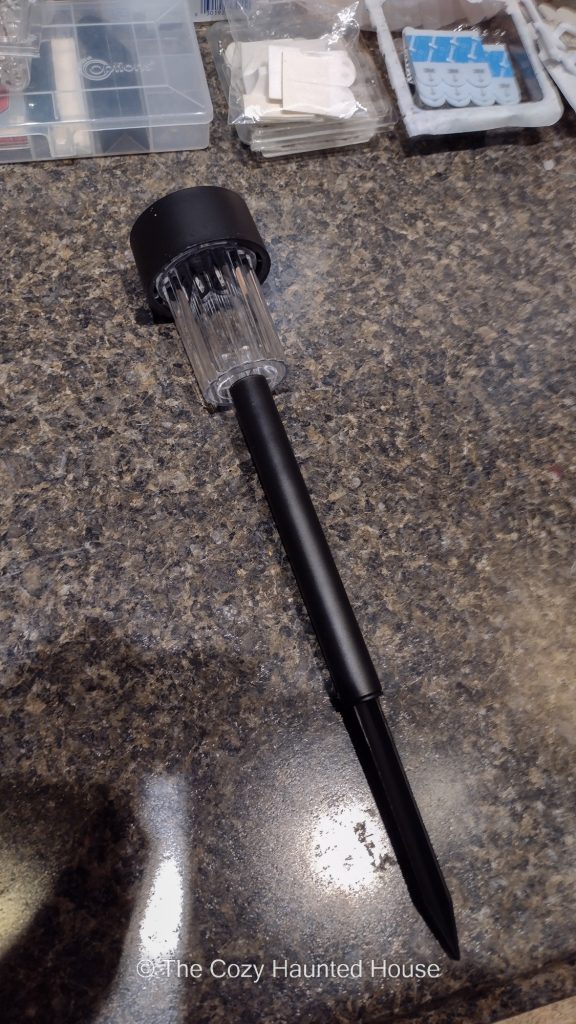
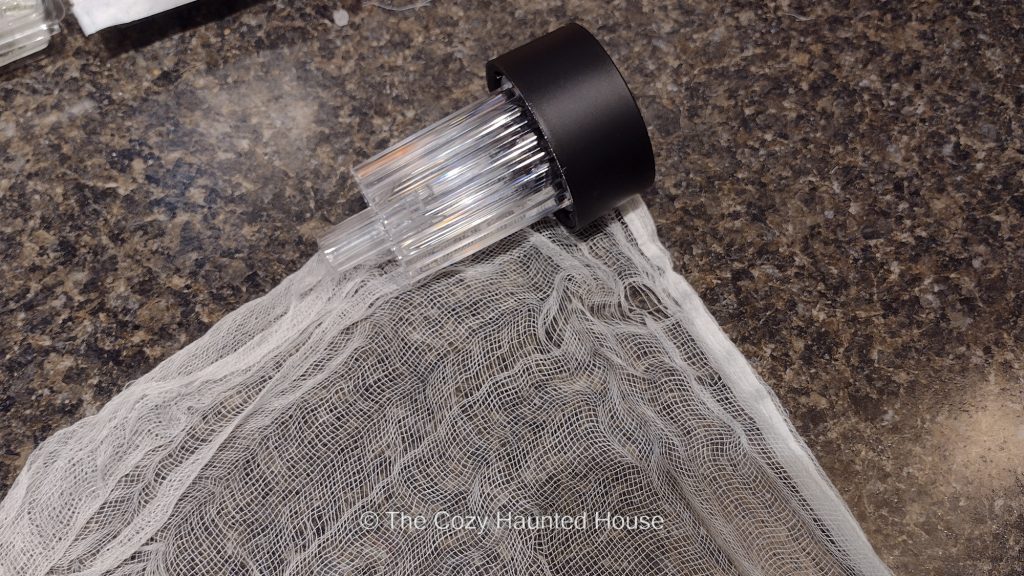
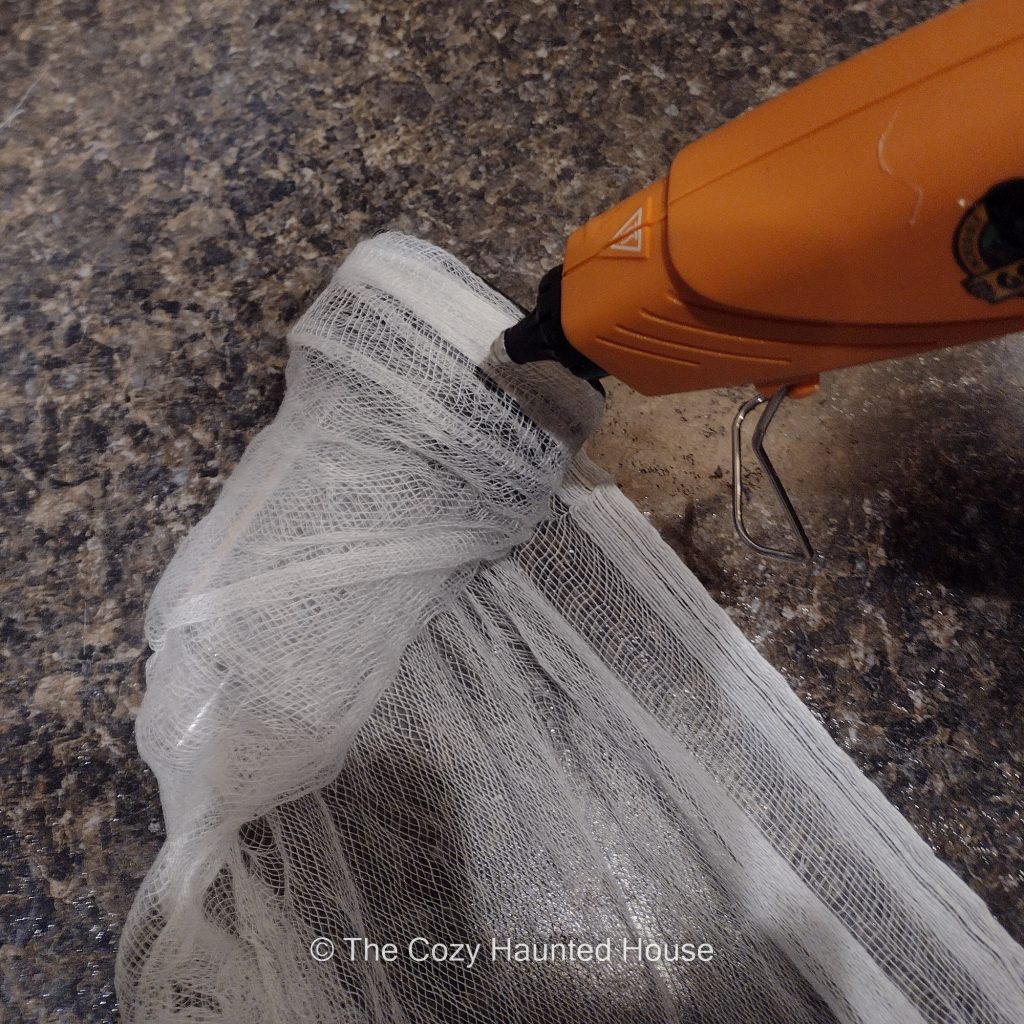
Use a dab of hot glue to secure the end of the fabric to the side of the light. Do not cover up the solar panel on the top.
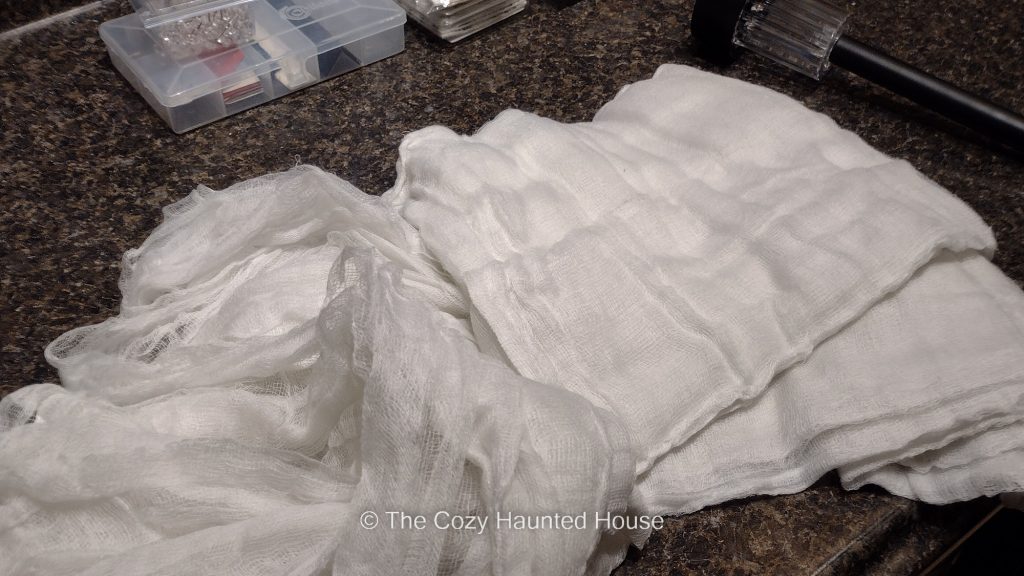
Wrap the spooky cloth around the solar light twice. Work a little hot glue around the entire cloth so it soaks through and adheres to the side of the light brim.
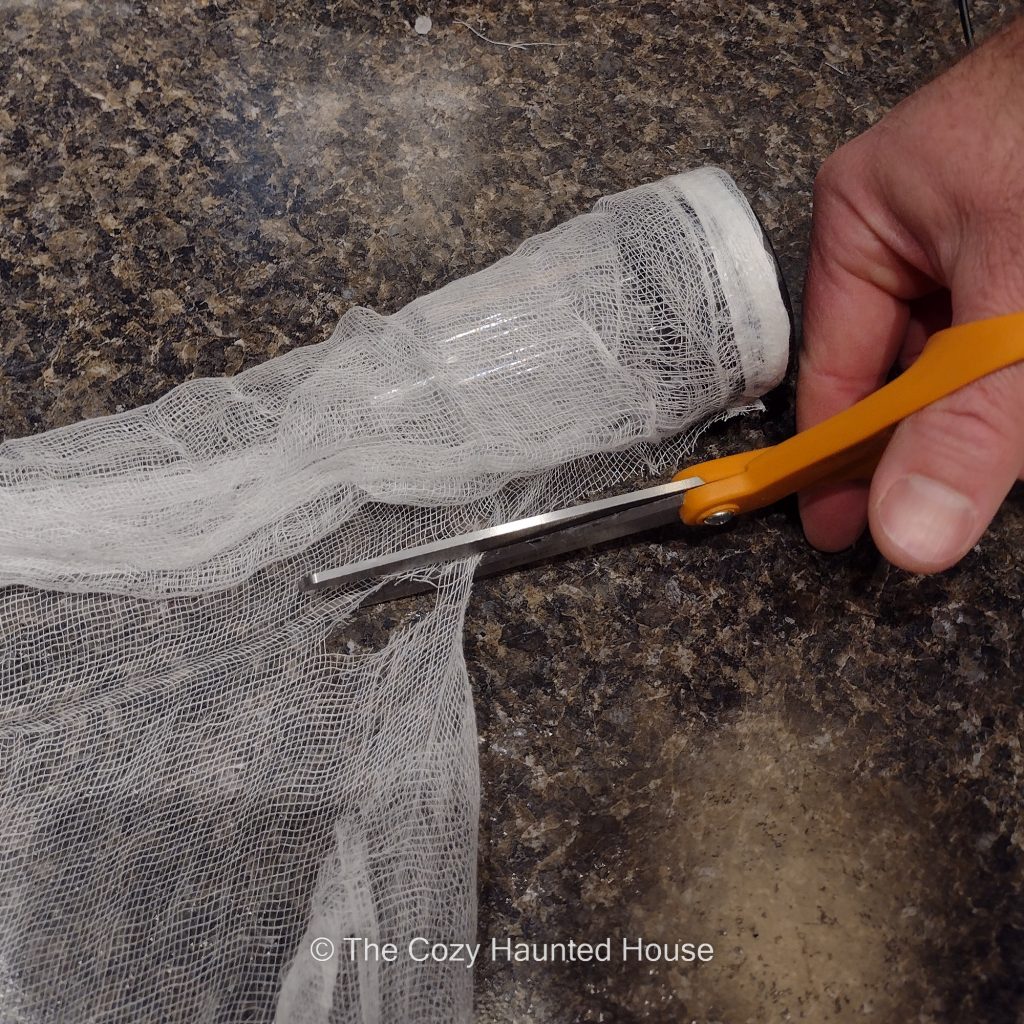
Trim the excess cloth, cutting straight down. Leave about 2 feet of material hanging on the bottom of the light.
Using scissors, cut through the bottom of the cloth to give it the appearance of being torn.
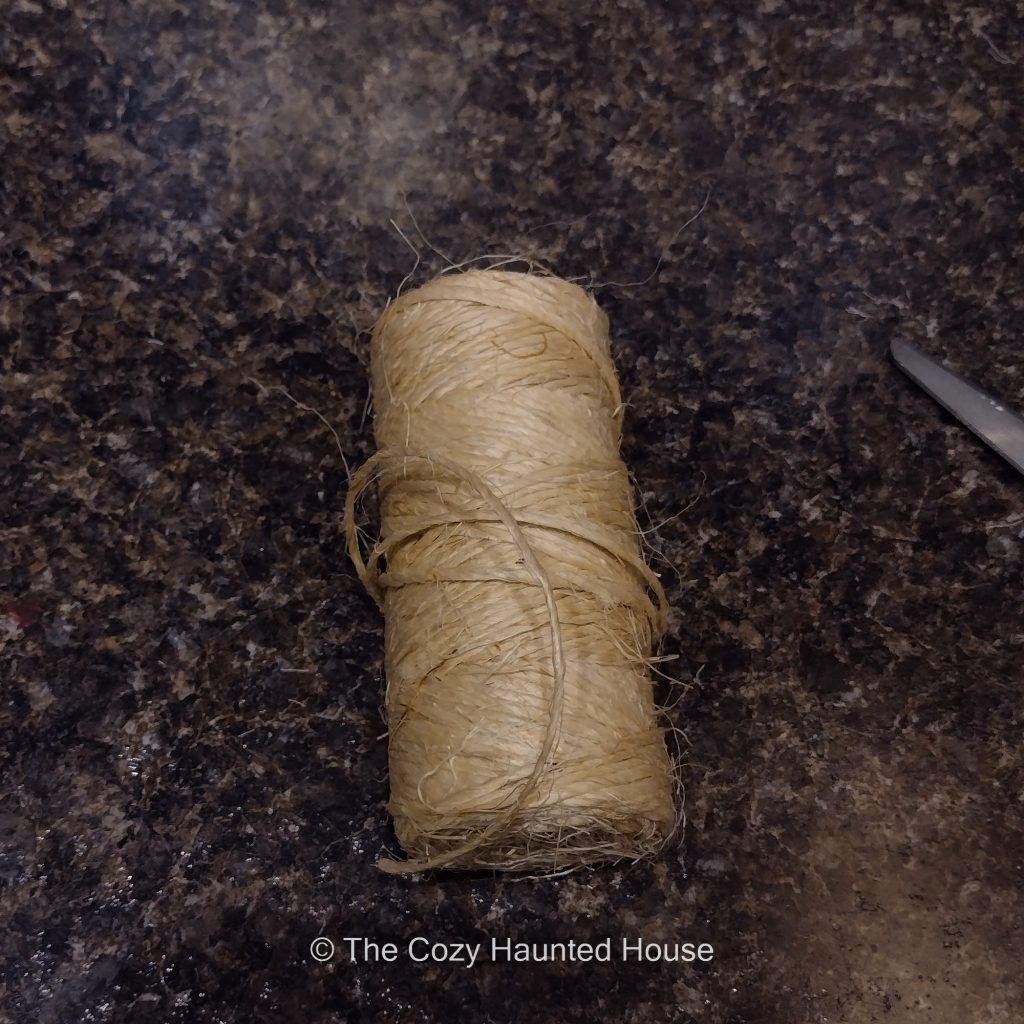
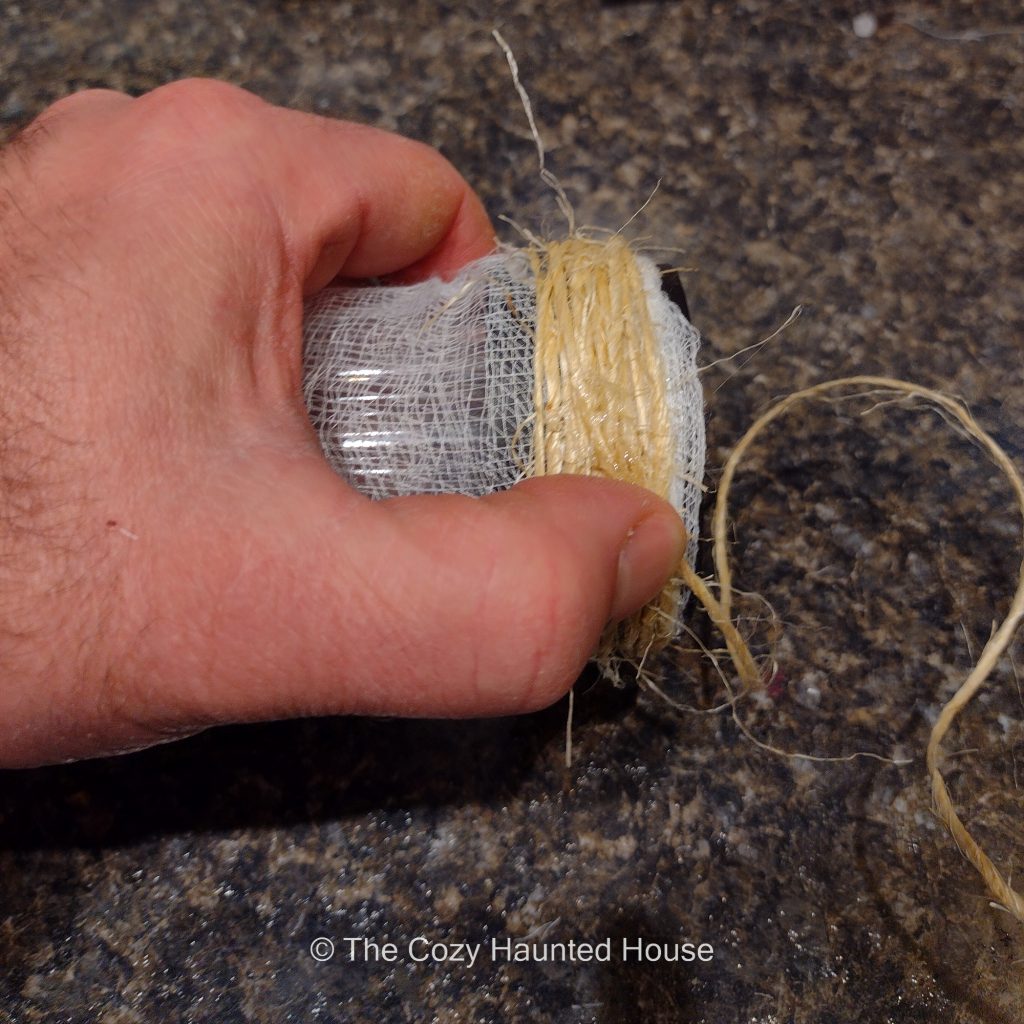
Using jute twine, secure the end to the light with hot glue. Wrap it several times around the rim to make it look like the rope will be holding the light up.
After wrapping it several times to create a layer of jute, secure the end with more hot glue.
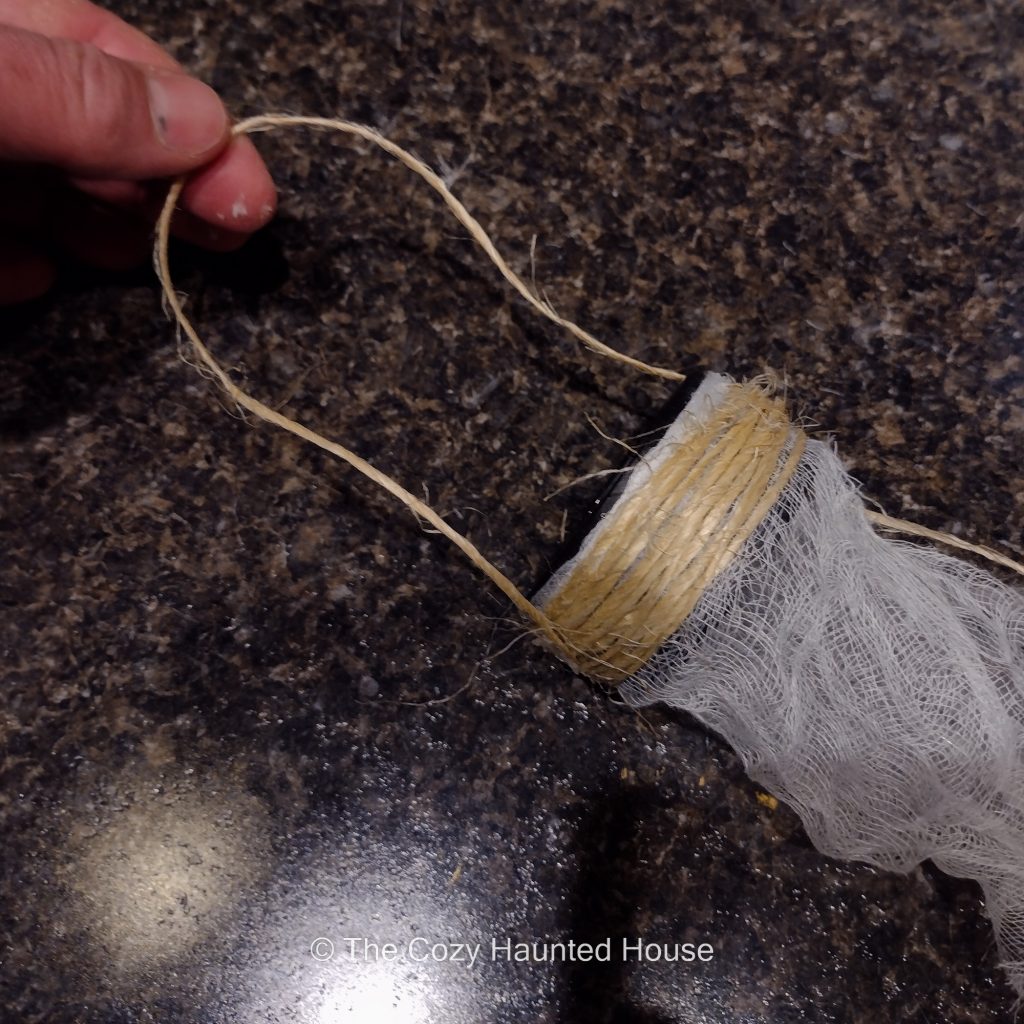
Make an 8″ tall loop with the jute and secured the other side to the lamp with hot glue.
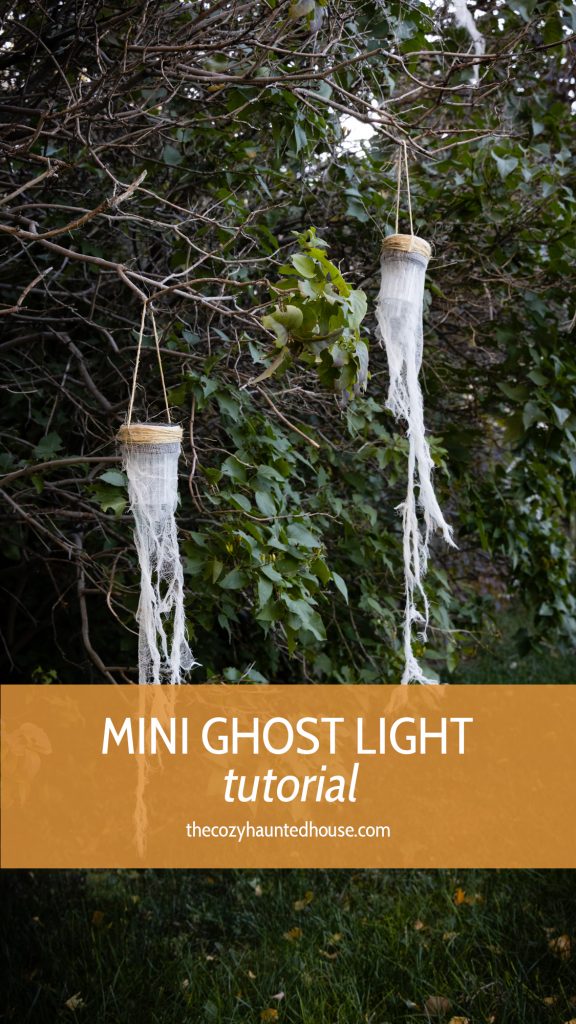
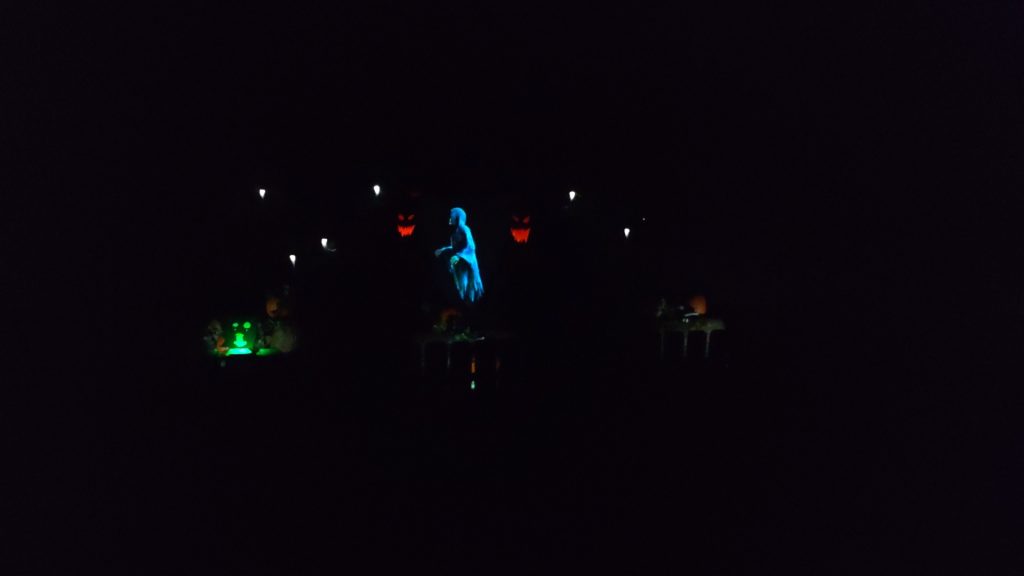
The result looks simple enough but creates a beautiful haunting effect at night.
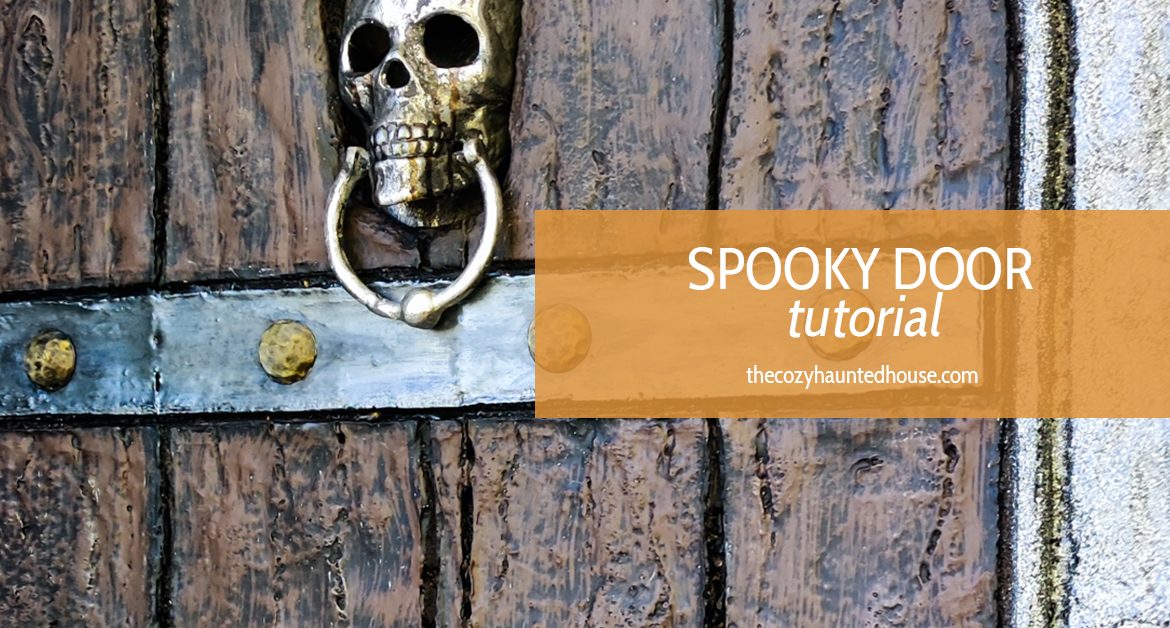
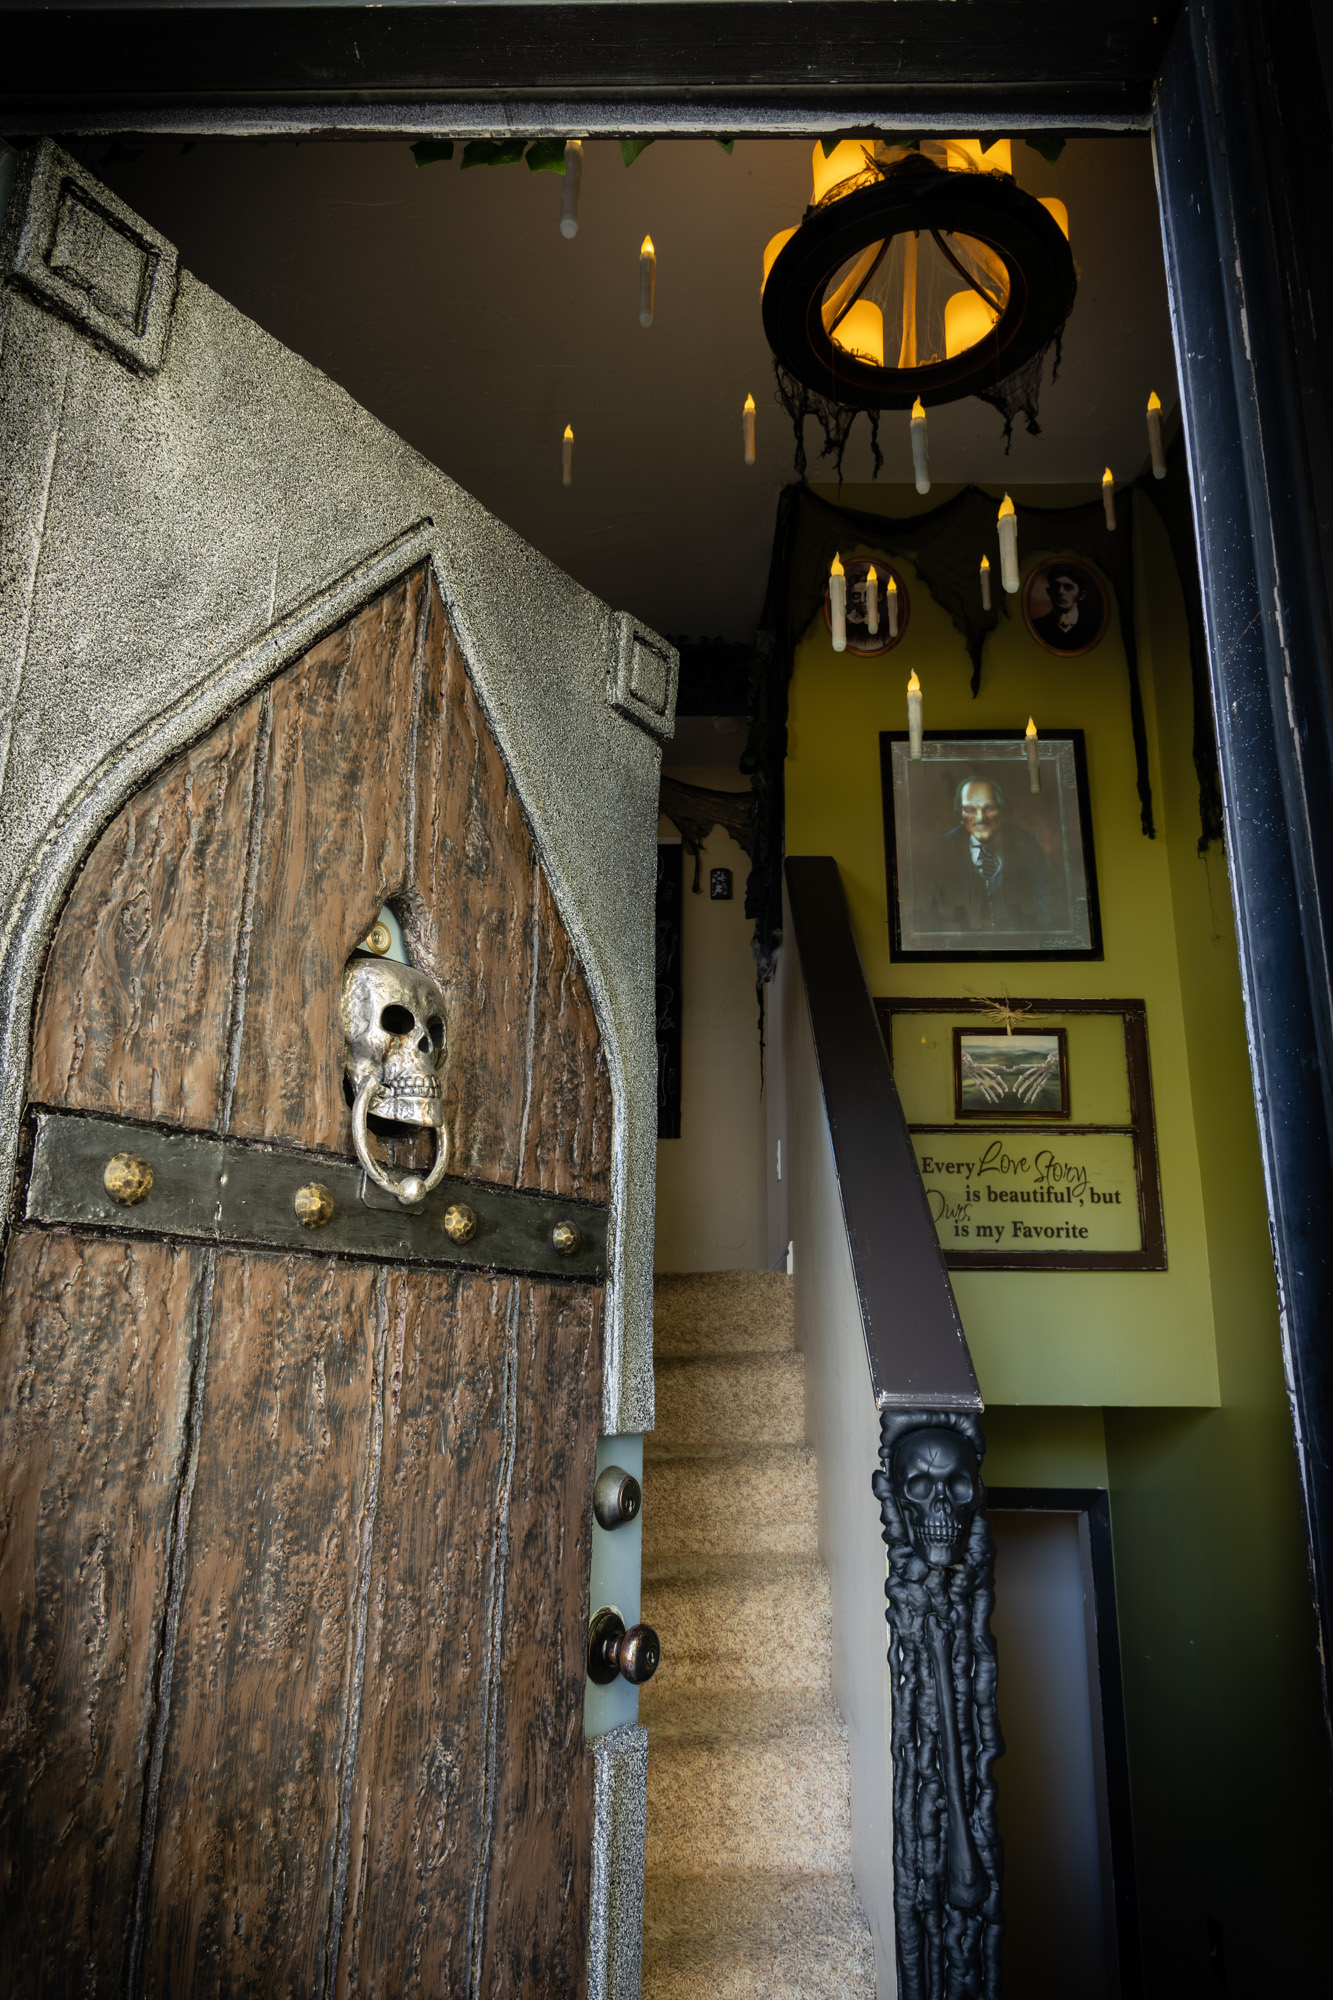
This project will really make your home or apartment stand out from the rest! With a few supplies from your favorite home improvement store, you can create the perfect spooky door – a brilliant finishing touch for your haunted house.
Note: Some of the links below are affiliate links. This means that, at zero cost to you, we will earn an affiliate commission if you click through the link and finalize a purchase.
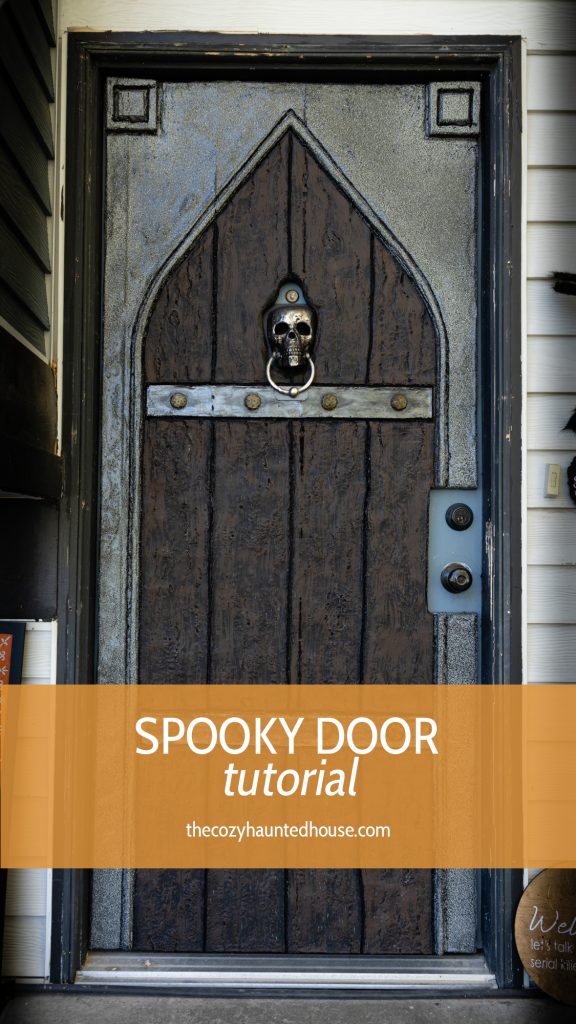
Our outdoor decorations were nearly finished: cemetery, haunted pumpkin patch, spiders, zombies and more – but something felt like it was missing. So we decided to make a big change to our current door.
Dedicated to the friend we lost along the way…
This project is renter/take-down friendly! It can be added and removed without damaging the door. It will take a bit more time and materials than other projects, but it’s definitely worth it.
Here’s what you’ll need to have before getting started:
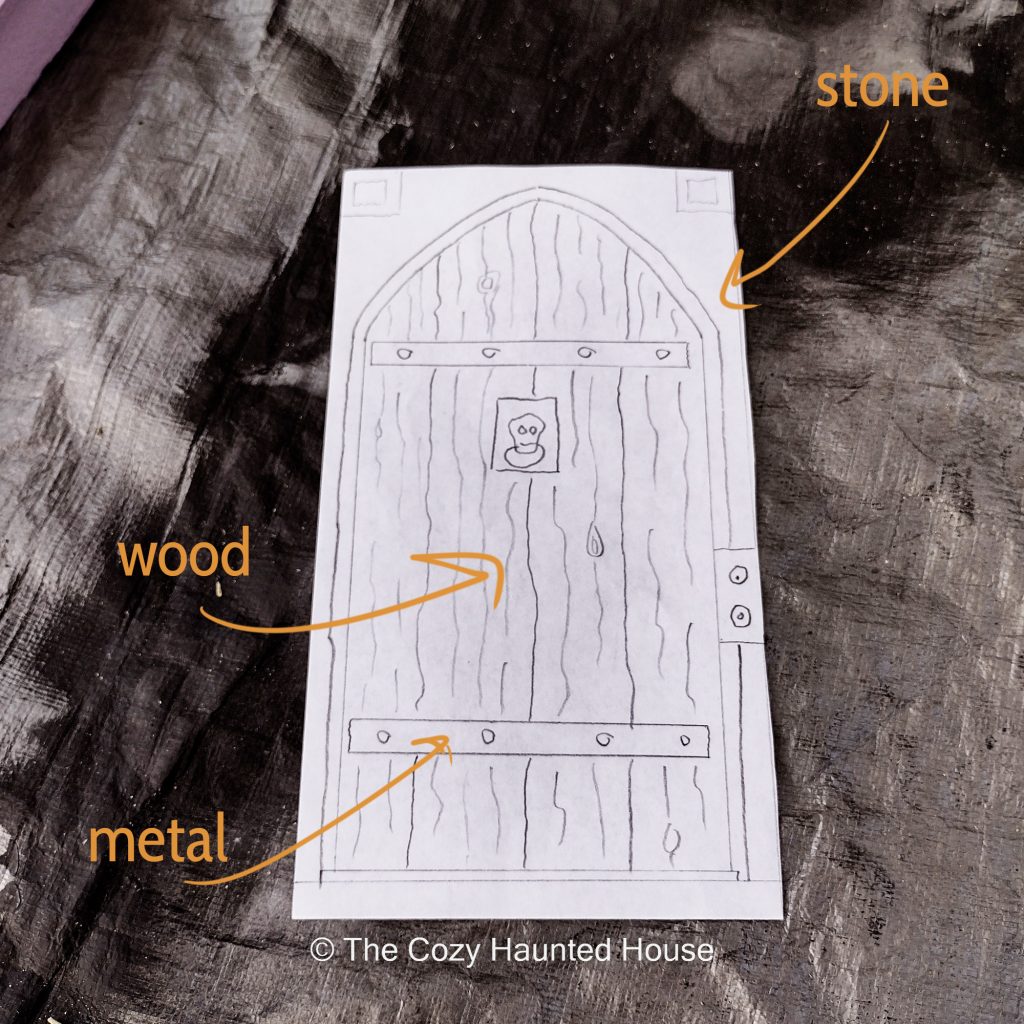
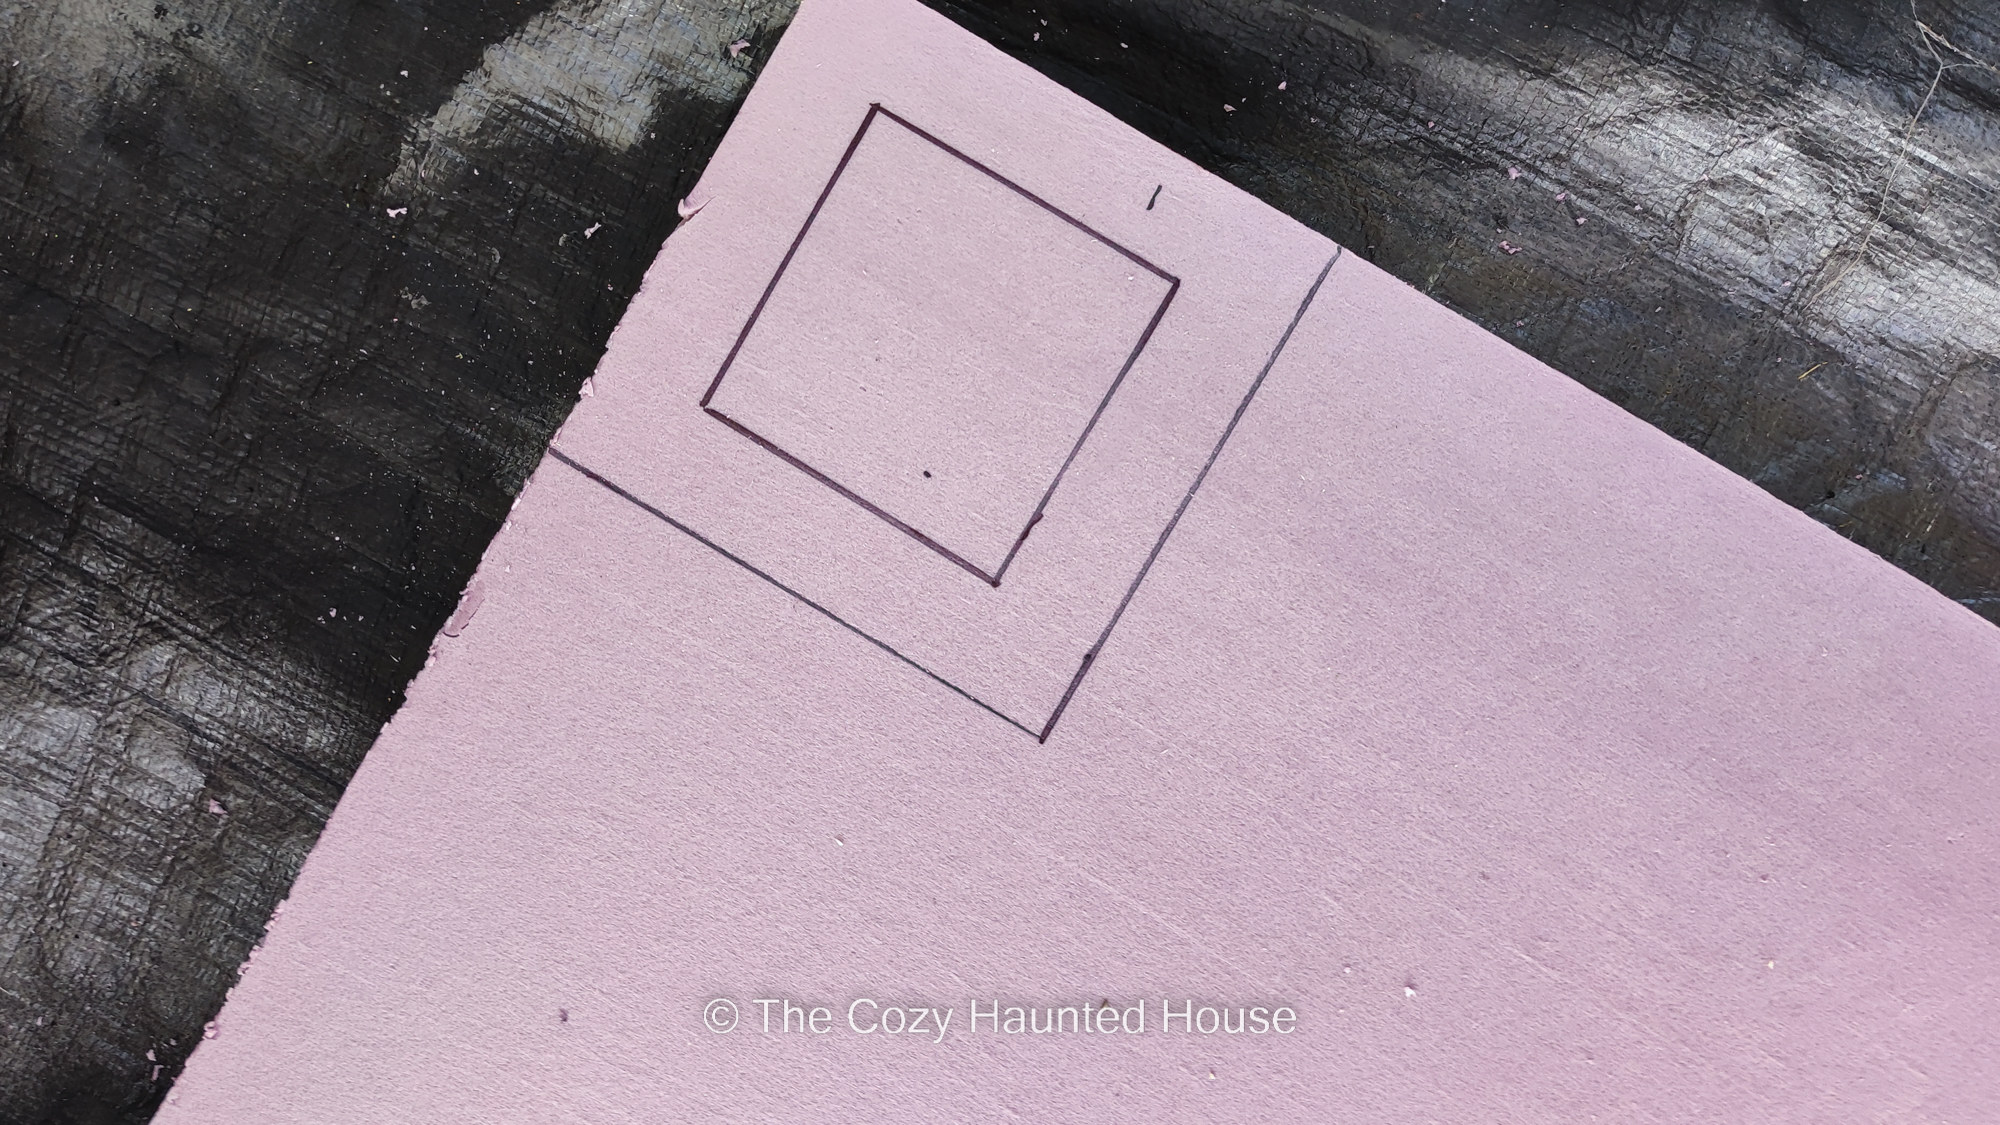
To begin, I drew out a basic design for a door I thought would look good. Take your inspiration from any movies, books, or video games – it doesn’t have to be elaborate. If you’re stuck on what to do, here’s some inspiration.
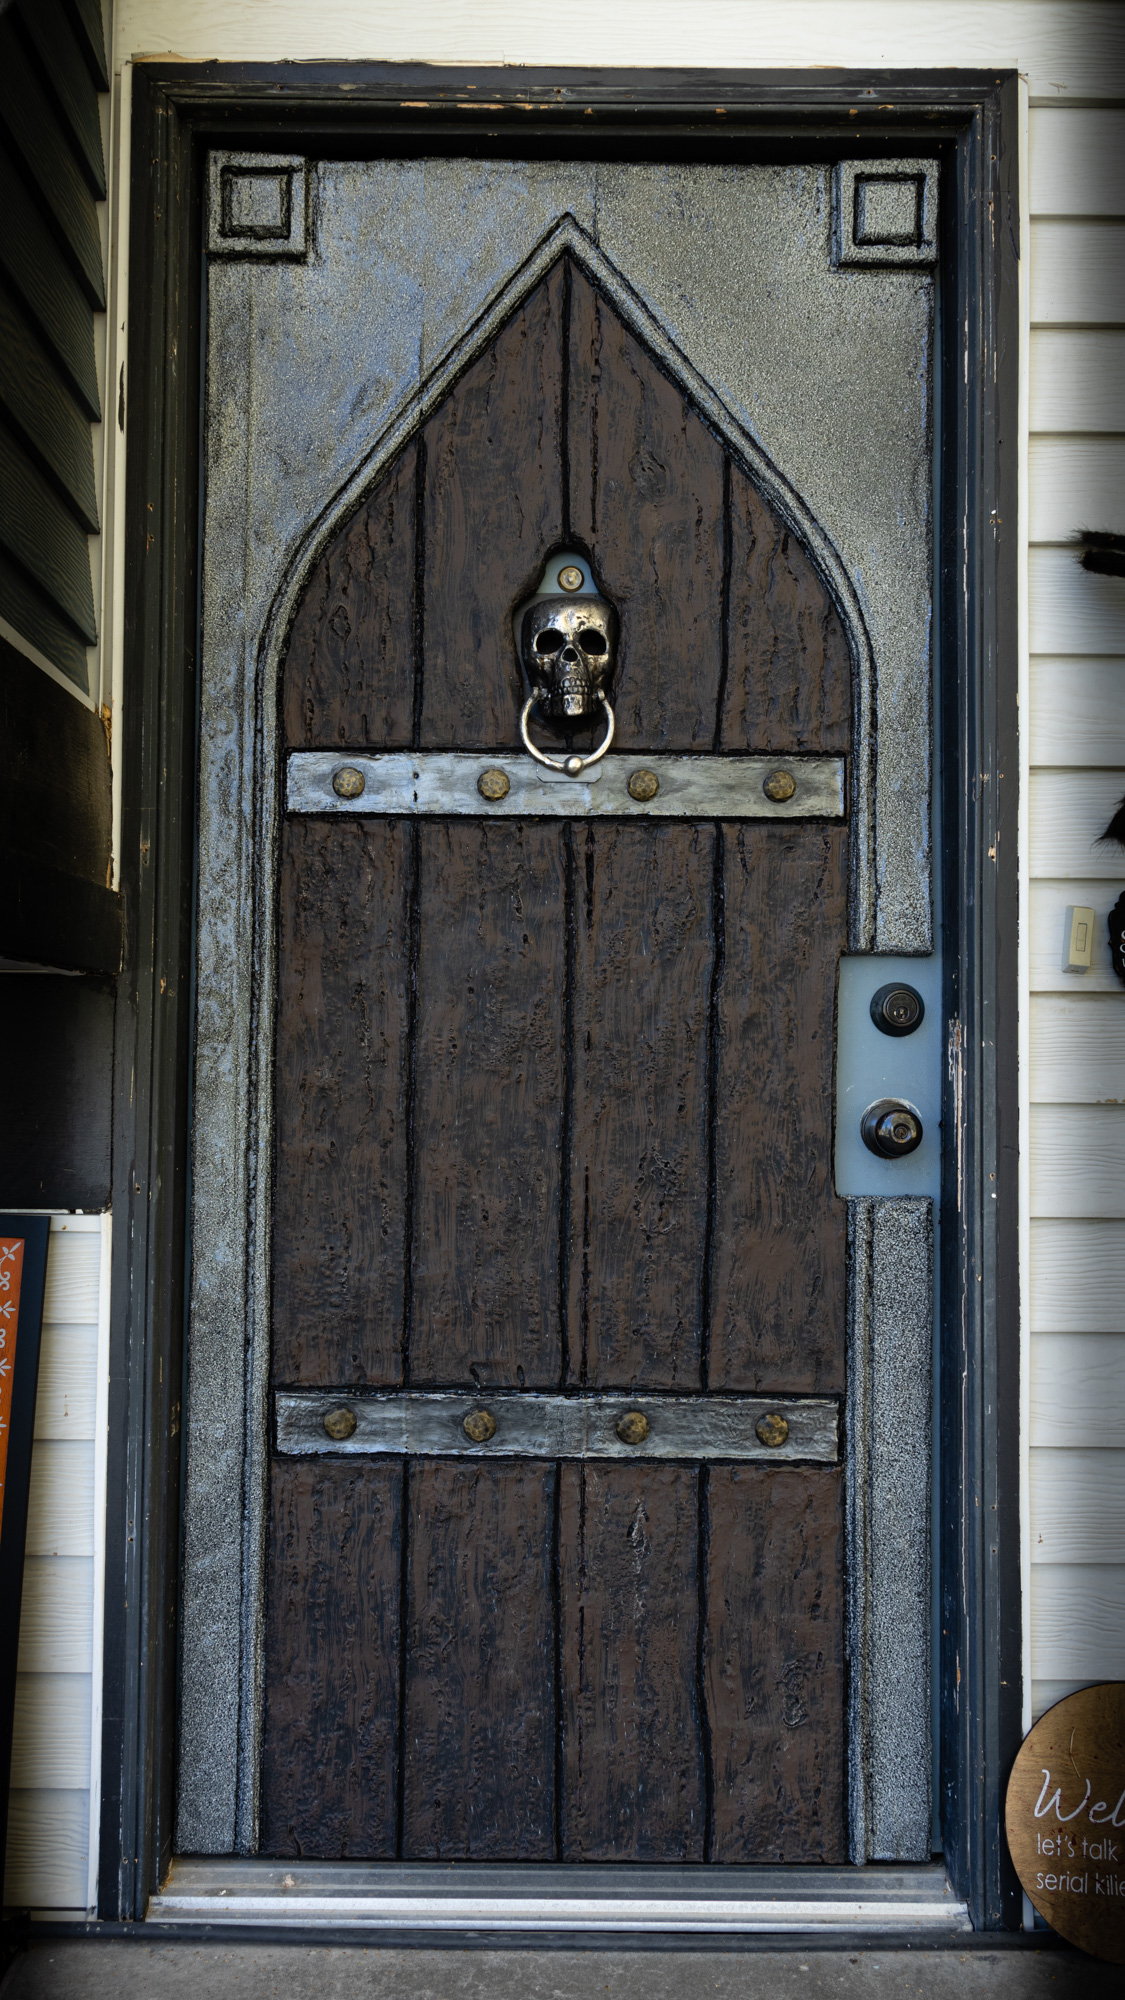
I wanted my door to look like it was made of different materials so that it stood out and looked like a real door.
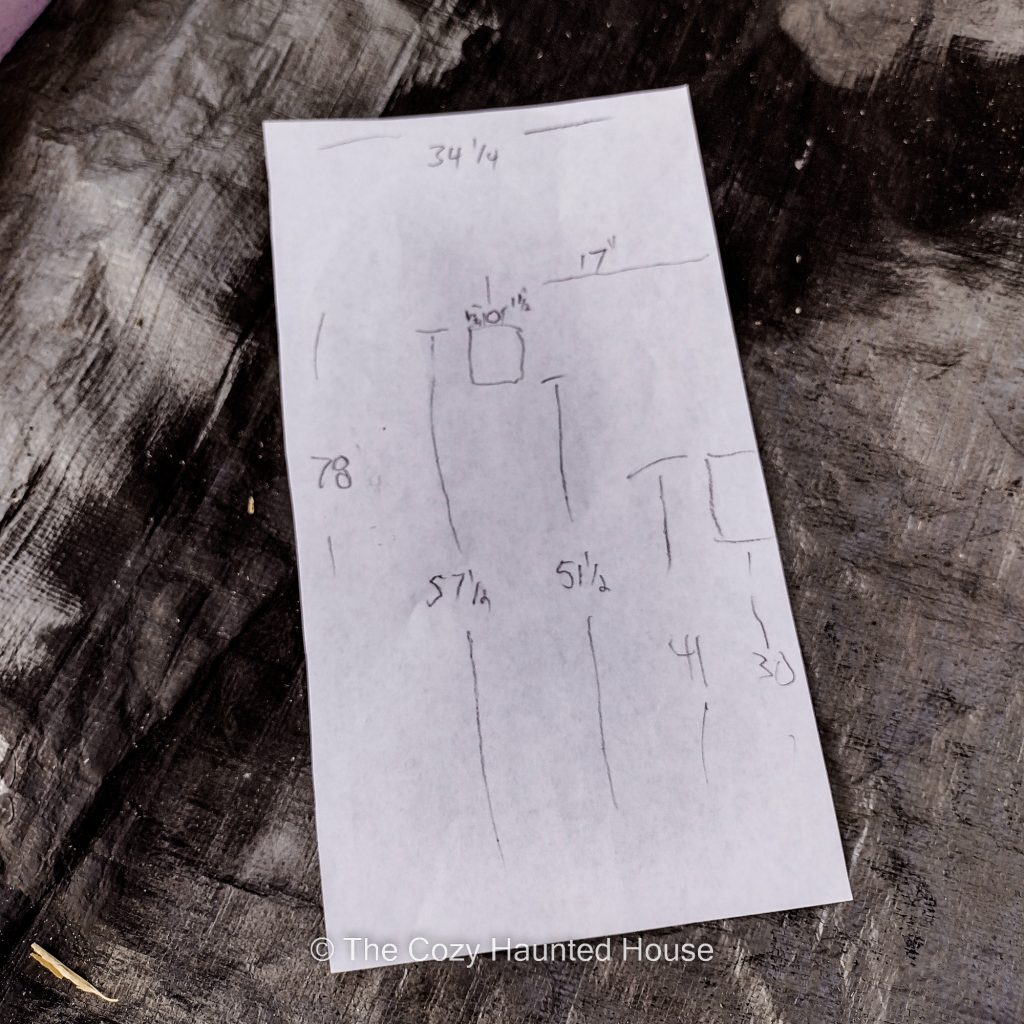
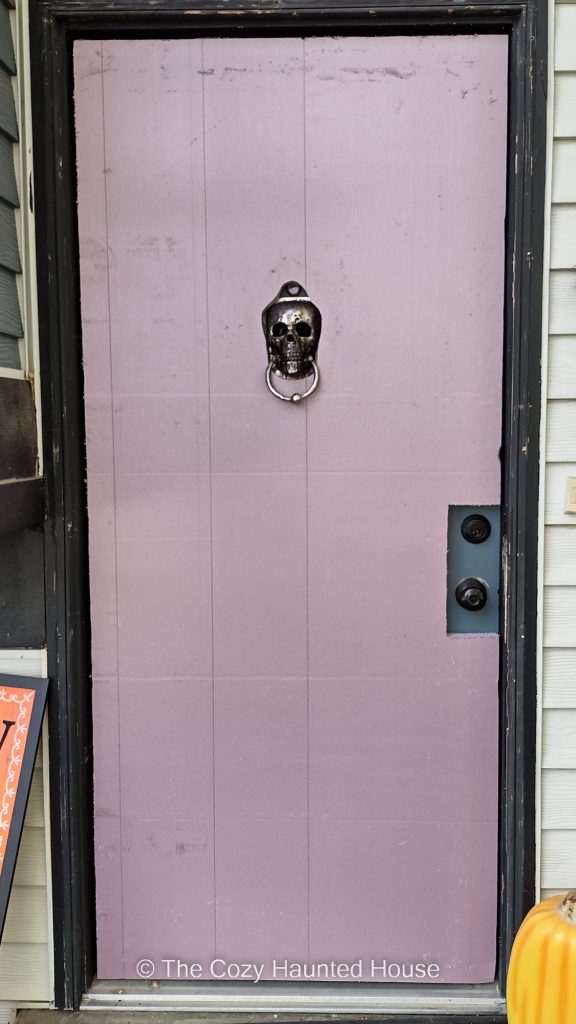
Take measurements of the size of your door. Make a note of your doorknob and deadbolt placement. We’ll be cutting these out.
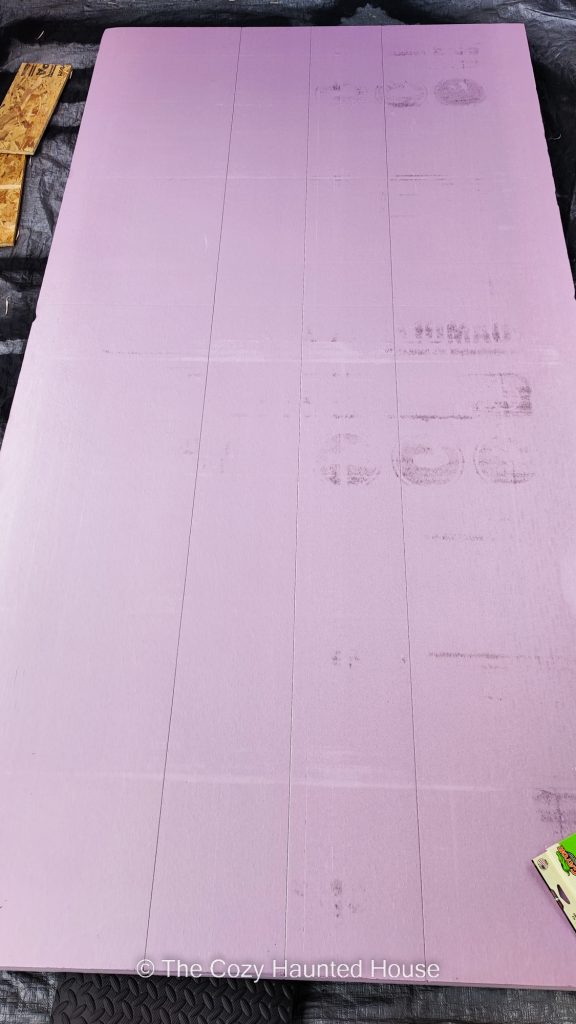
Purchase a 4’x8’1 ½” high-density foam board from your local hardware store (we found ours at Lowes).
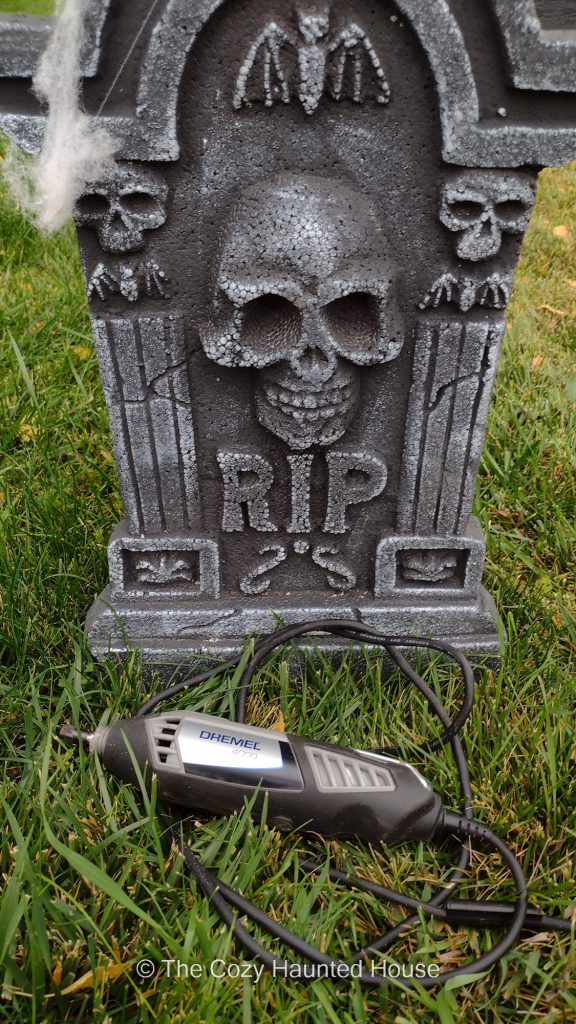
At this time, I must take a moment to recognize the loss of my dear friend: my old Dremel.
It had been with me for years of projects it finally wore out. Rest in peace, old friend.
Continuing on:
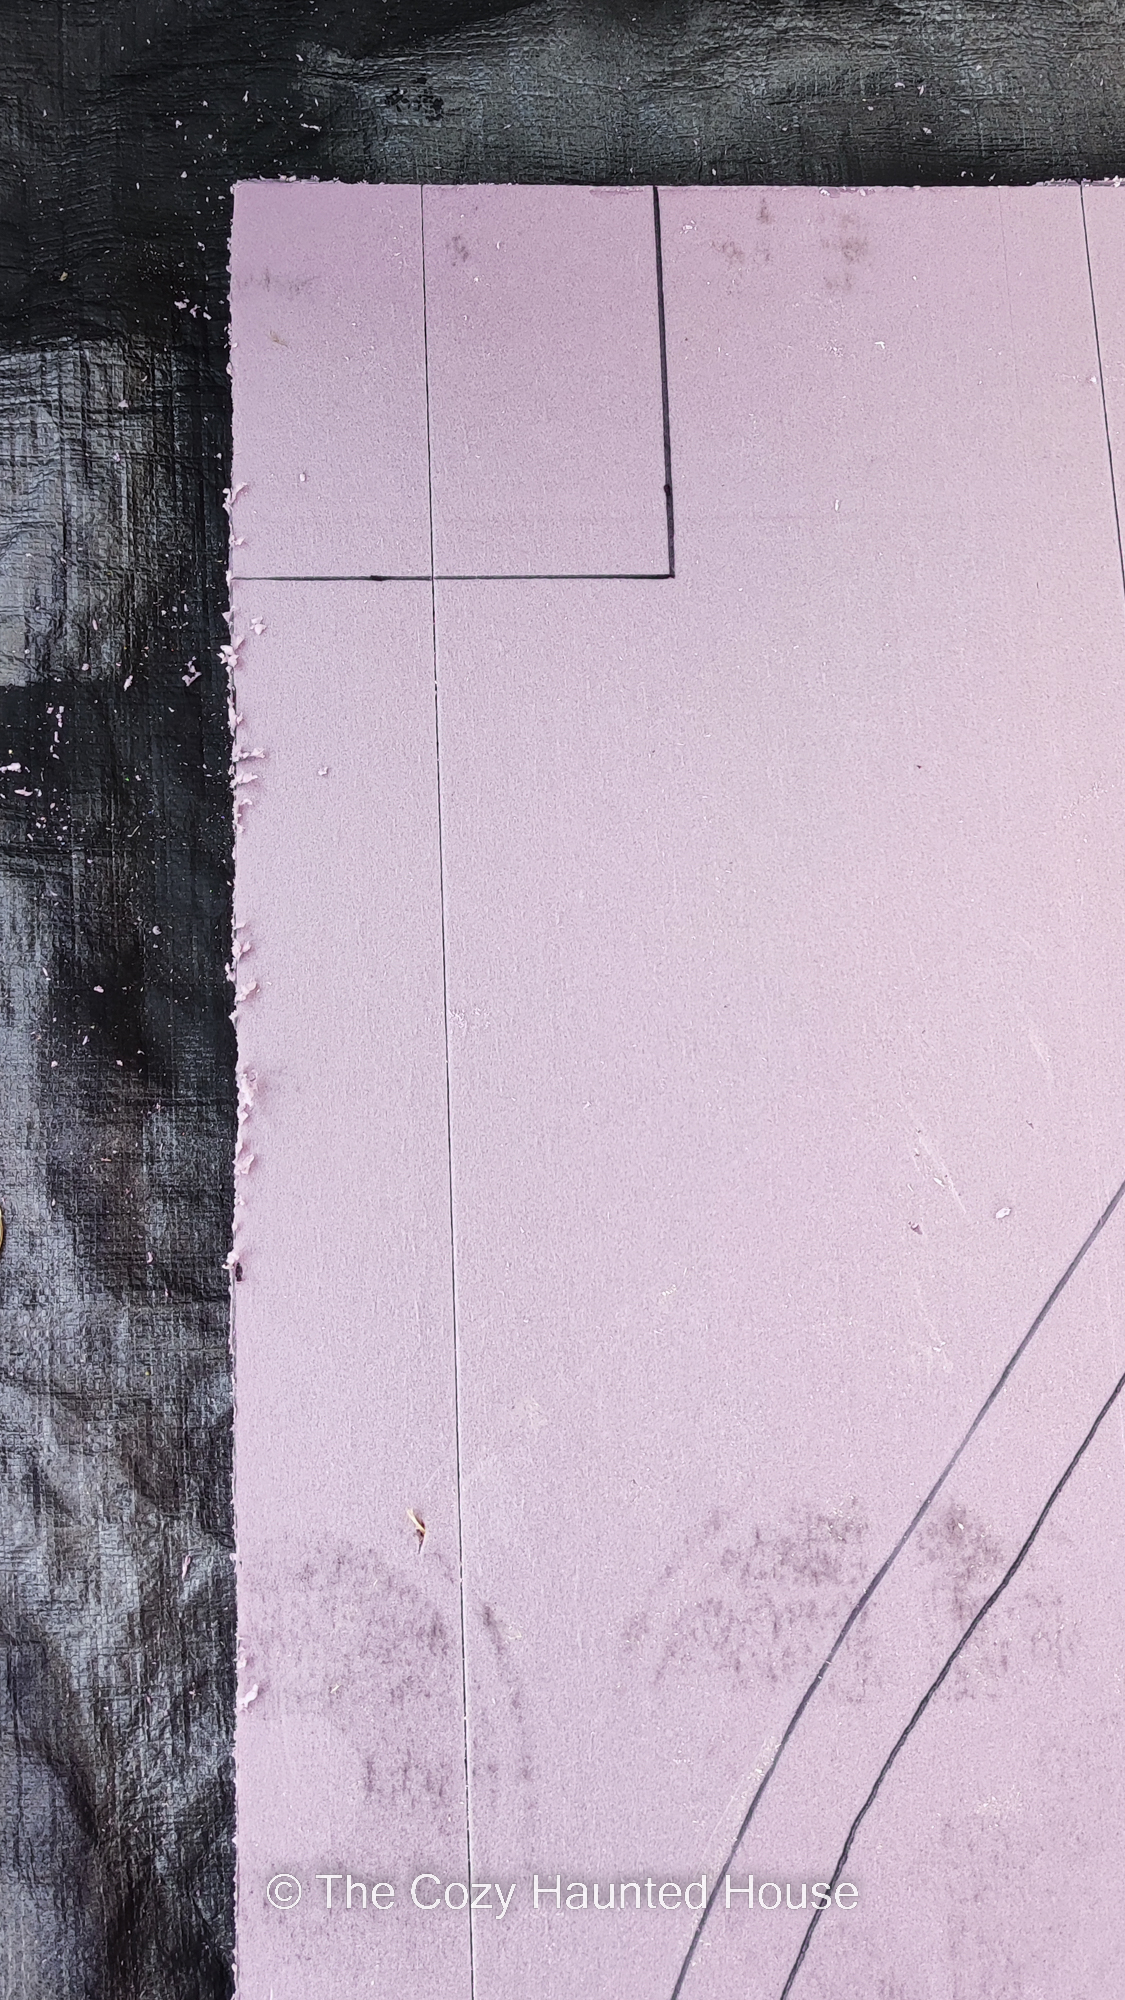
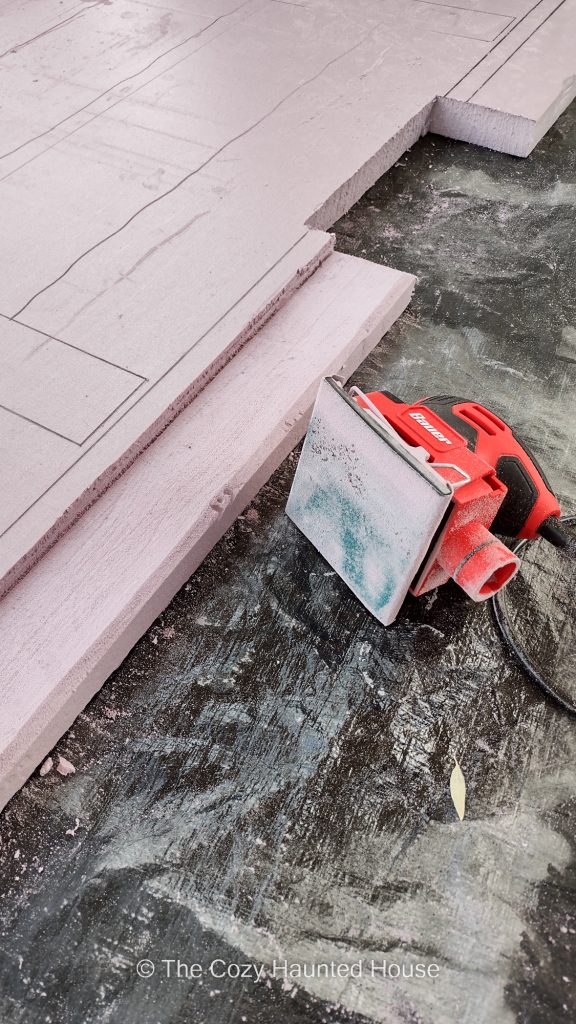
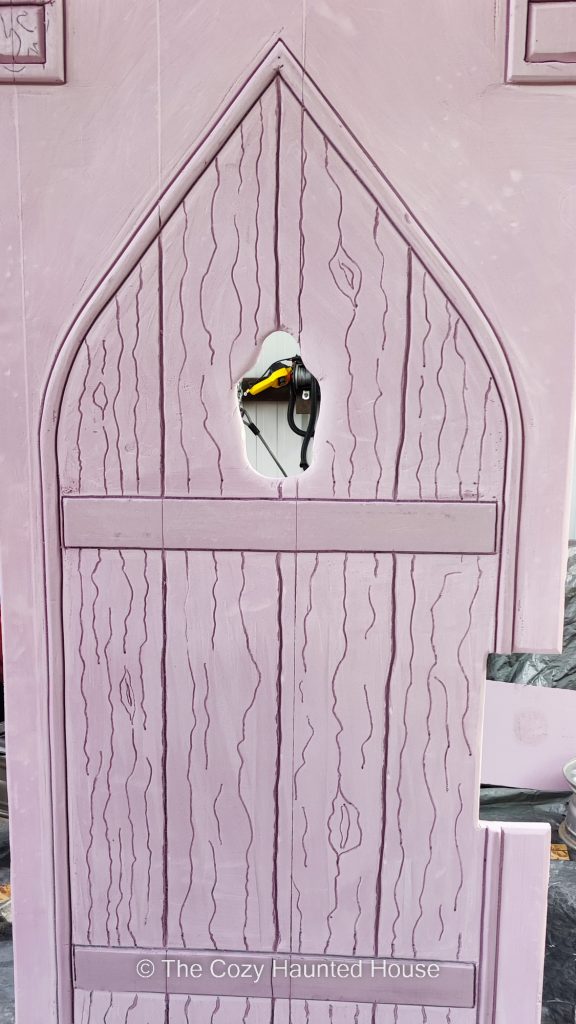
To create depth to the door, I decided to sand down the parts I wanted to be stone. These were sanded down about ½” using a square palm sander with an 80 grit sandpaper. Sand it down in small amounts, because taking too big of chunks will slow you down and melt the foam. Wear a mask because the dust gets everywhere (and I mean everywhere). You don’t want to be breathing this in.
As you can see, I brought the areas I wanted to be stone down, and left the top decorative corners a little higher to create good depth.
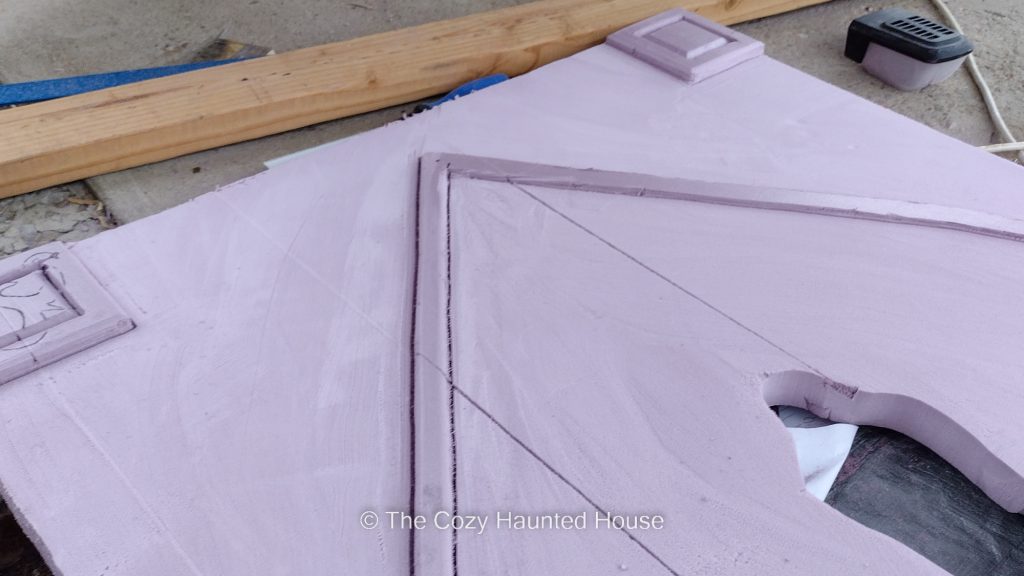
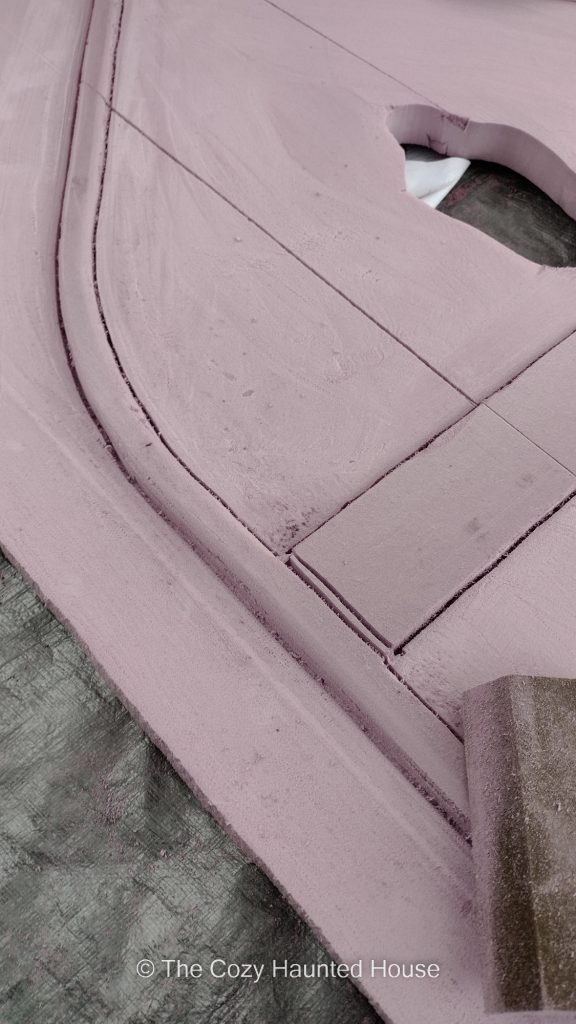
I also sanded down the parts that were going to be wood and brought them down about ¼” so they had more depth as well. I used a sanding sponge and rounded all the corners and cleaned up all the edges.
Check the fit against your door to be sure everything is lining up and looks good before continuing.
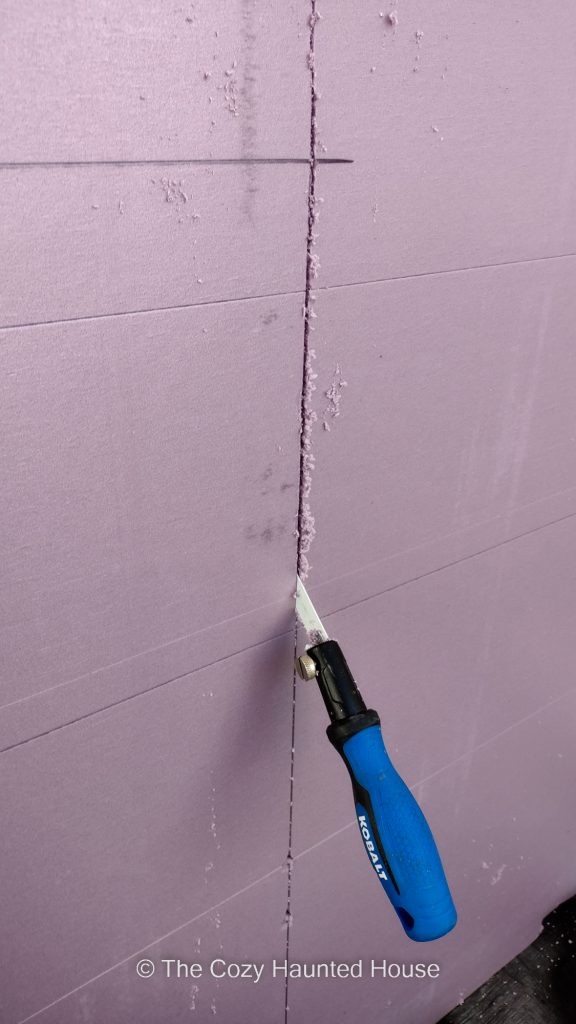
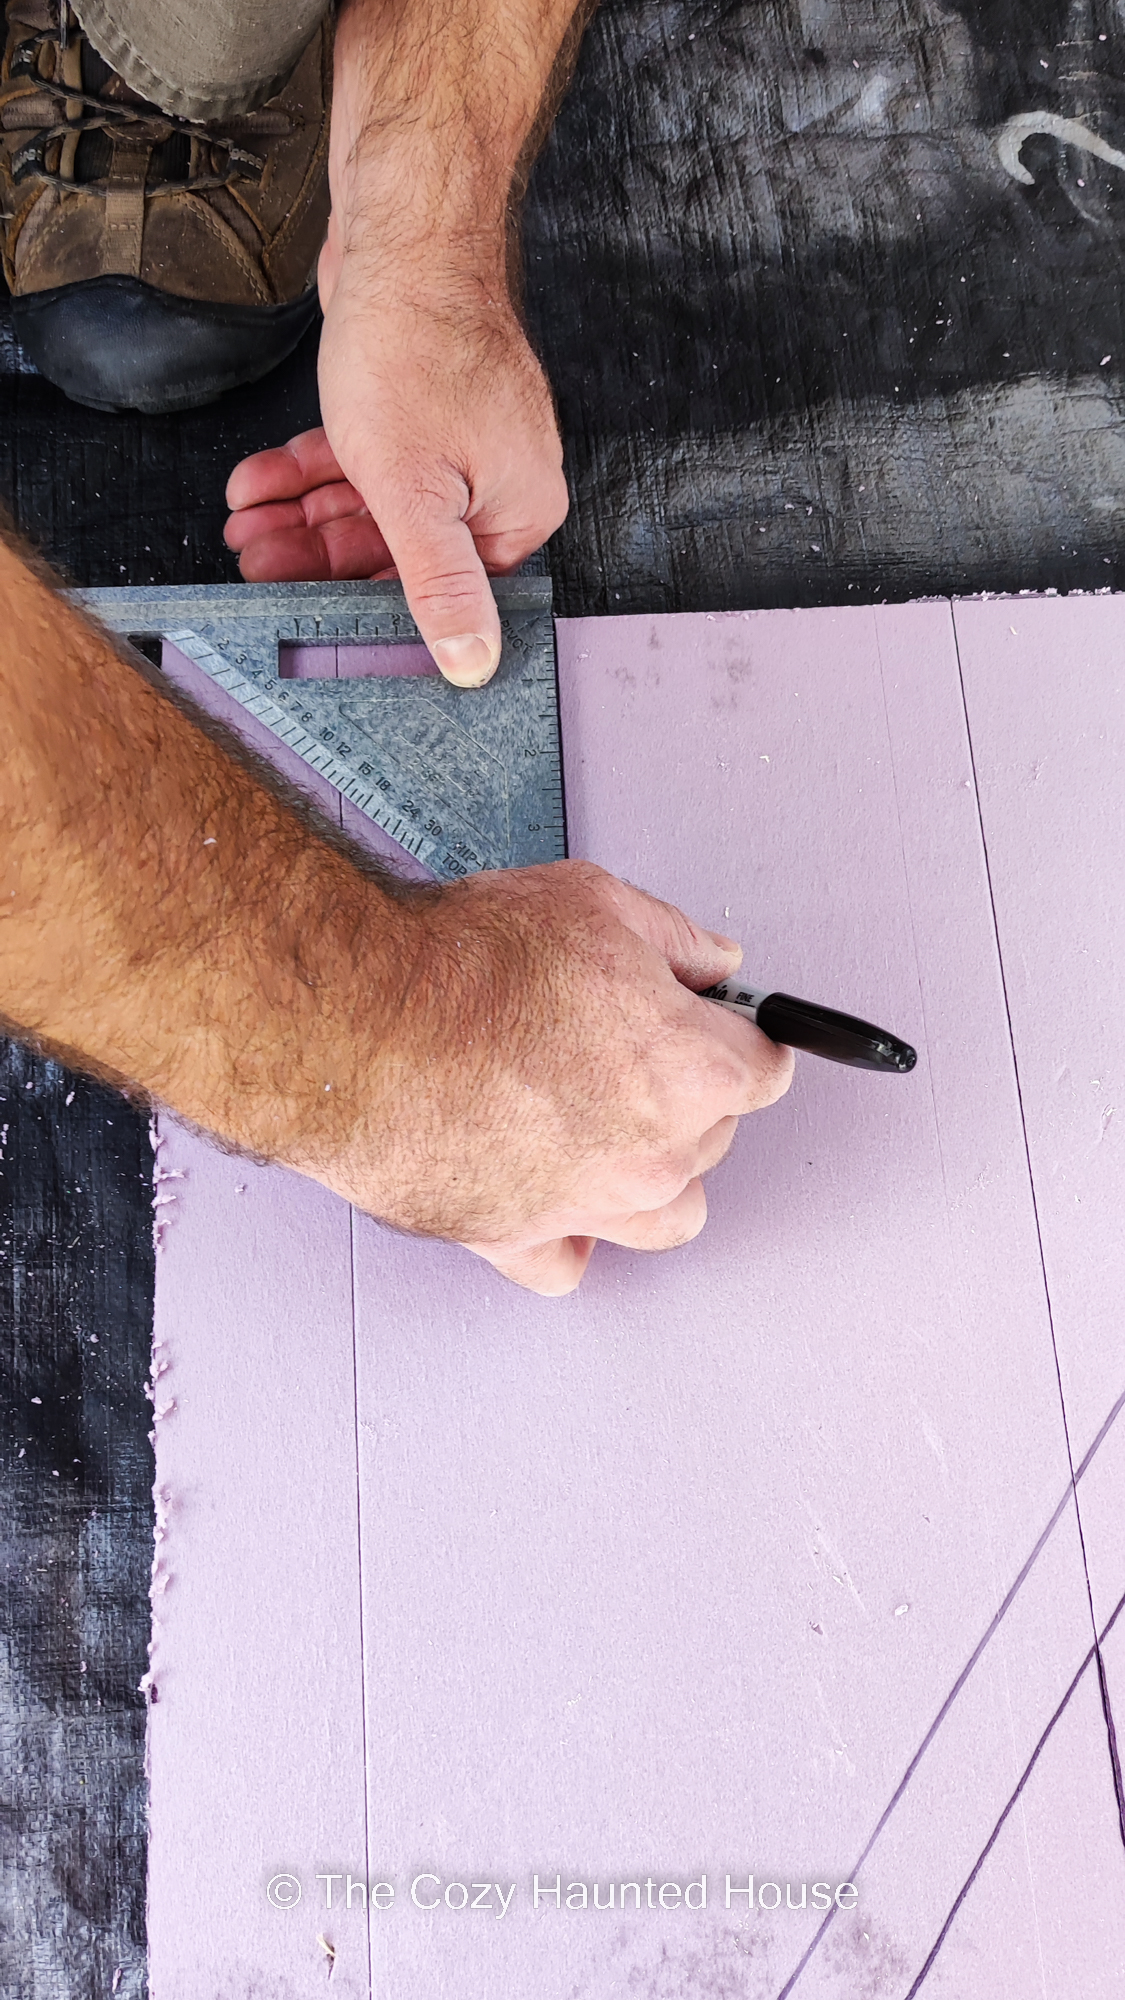
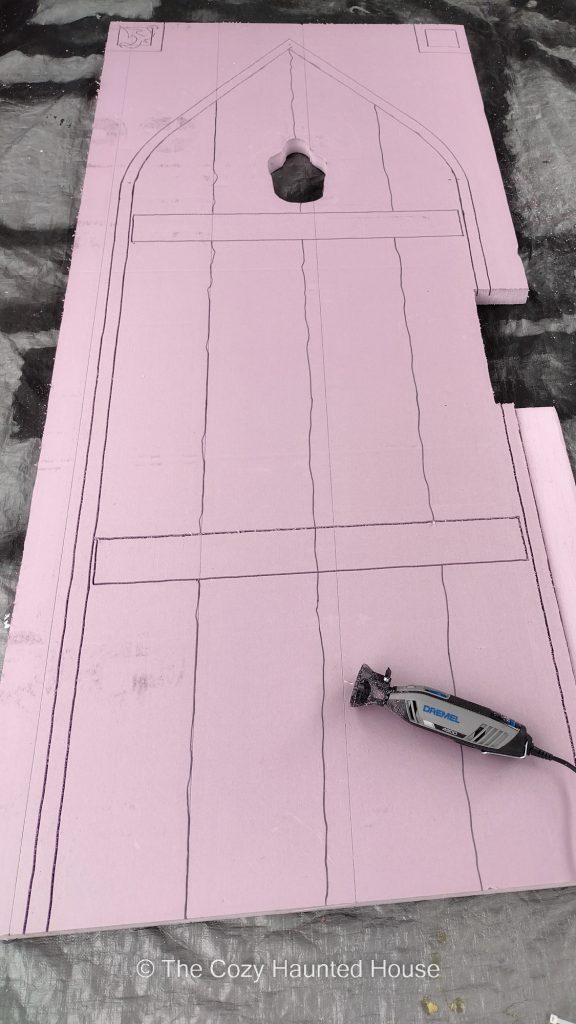
I used the Dremel to create squiggly lines down the sections I wanted to look like wood. To create the decorative corner pieces, I used the same cutting bit, but cut down about 1″.
Using an air compressor (or canned air), blow any dust or residue from the door and wipe it clean with a soft, clean rag.
Painting
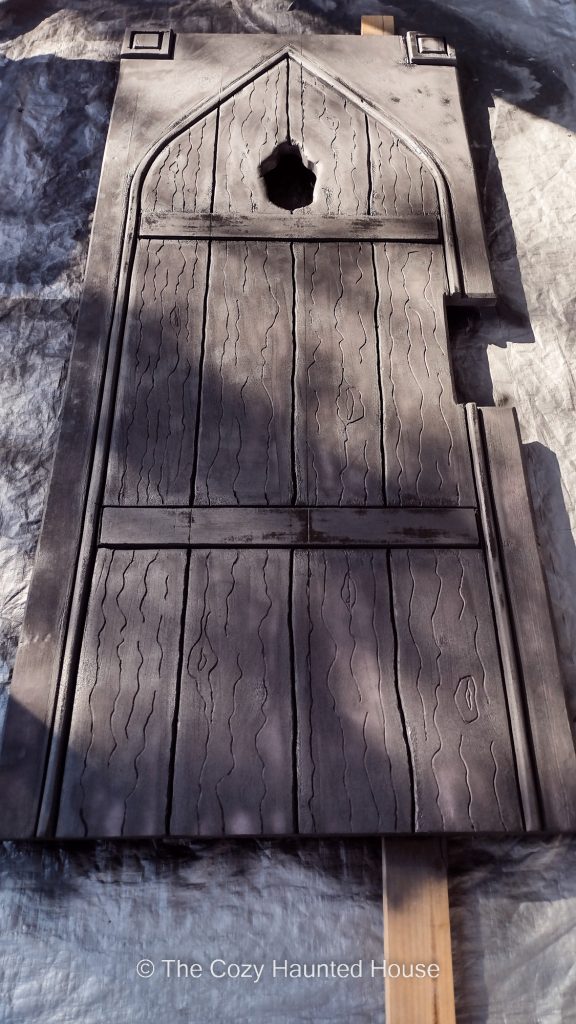
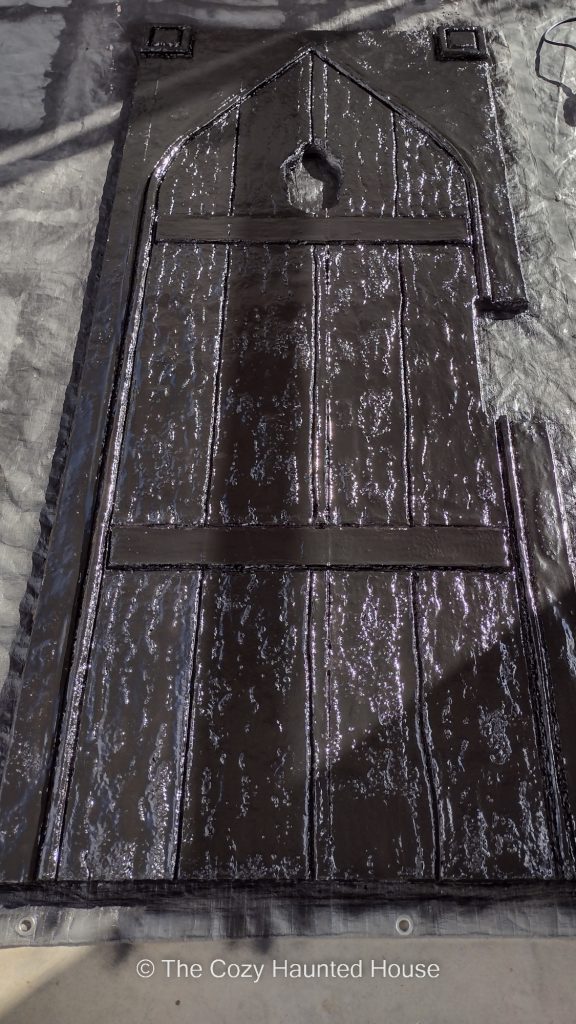
Using Rustoleum flat black primer, I spray-painted the entire door, making sure to fill in any cracks or crevices. This step is important so that it seals the foam and the epoxy added in the next step doesn’t eat as much of the foam.
Allow the primer to dry completely.
Applying Fiberglass Resin
Why this step is necessary: I used a fiberglass resin first on the door to create a rougher texture since the fiberglass resin will eat the foam.
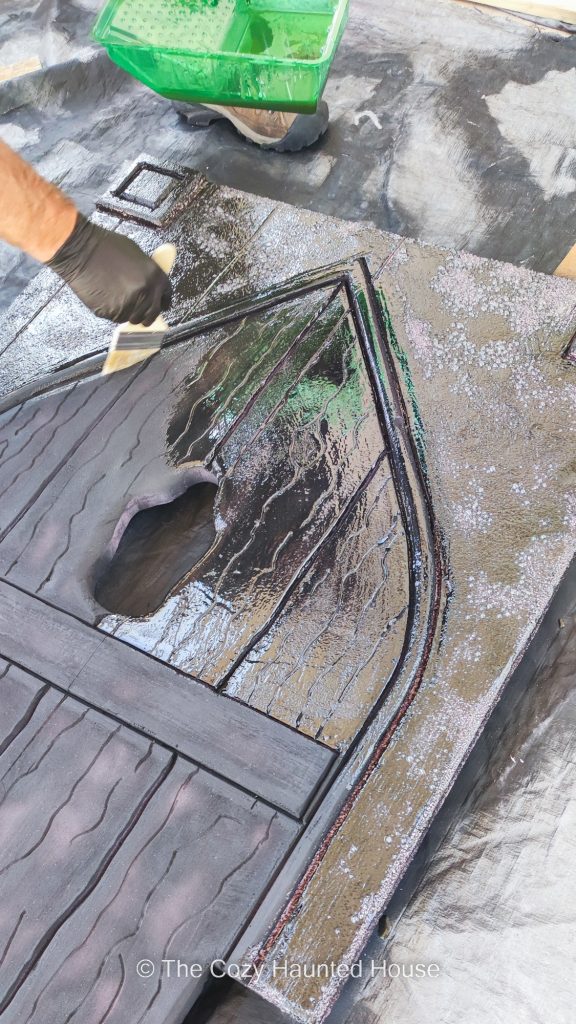
Wearing a respirator, mix the fiberglass resin as it is instructed on the container in a disposable container. Brush thedoor with the mixture.
As you can see, the resin is eating the foam. Using your brush, occasionally brush over the top to pop the air bubbles until it stops actively eating the foam.
In the future, I would suggest doing only the wood portions of the door with the fiberglass resin to create a rough, wood-like texture. Using the epoxy resin on the stone created too rough of a texture, which I didn’t like.
Allow it to dry until hard. The length of time will depend on temperature and weather. Using your hand sander, gently sand down any of the air bubbles you missed with the brush.
Apply Rondo
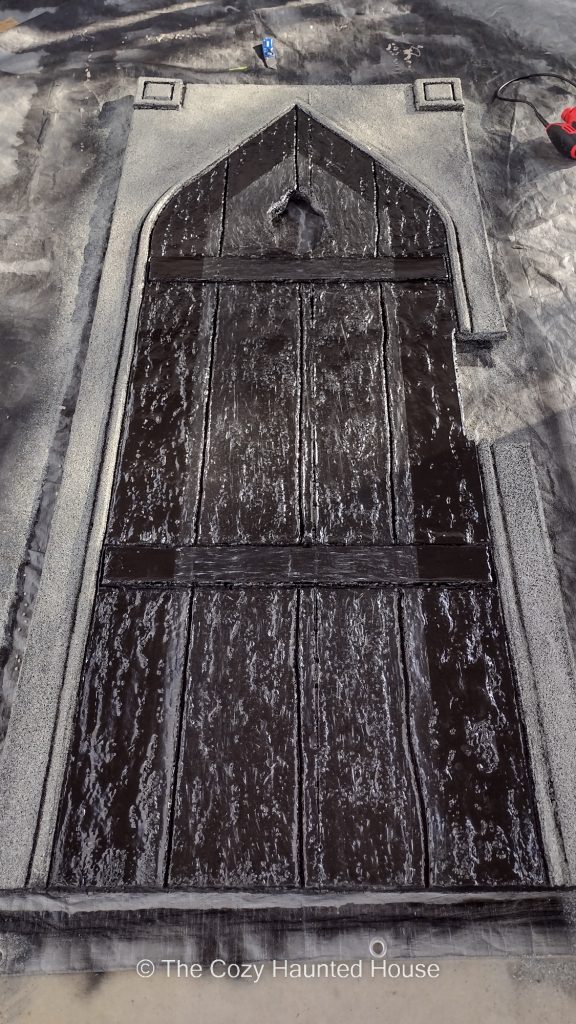
Once the entire door is dry, we will be applying a Rondo mixture to the door to create a hard shell. This helps protect the foam and smooths out some of the rough texture.
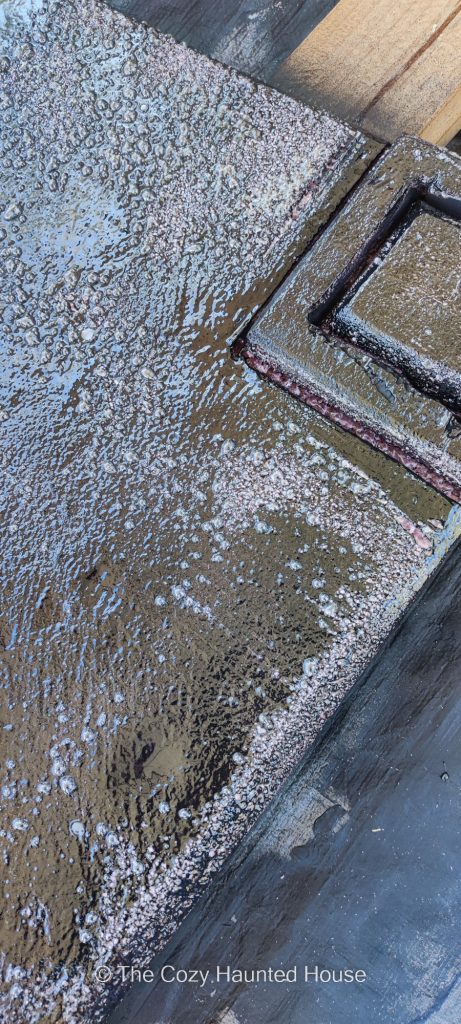
Next, we will be mixing up your Rondo. You want this to be a medium consistency paste (too thick and it will be difficult to apply, and too thin it won’t stay in place). Start with 2 cans (25.2 oz) of Bondo Body Repair Kit Filler and put them in a small disposable container.
Mix in fiberglass resin until it is of medium consistency. When you have the right density, mix in both tubes of the Bondo Body Hardener Tubes which come included with the repair kit. Mix in about ⅓ hardener from the fiberglass resin kit. Mix thoroughly. The paste should be a pinkish color if mixed properly.
Paint over the entire door with a disposable brush and let it harden. Dry time will vary depending on temperature and weather. When done, it should be hard to the touch.
This paint splatters everywhere, so be careful. Let it dry.
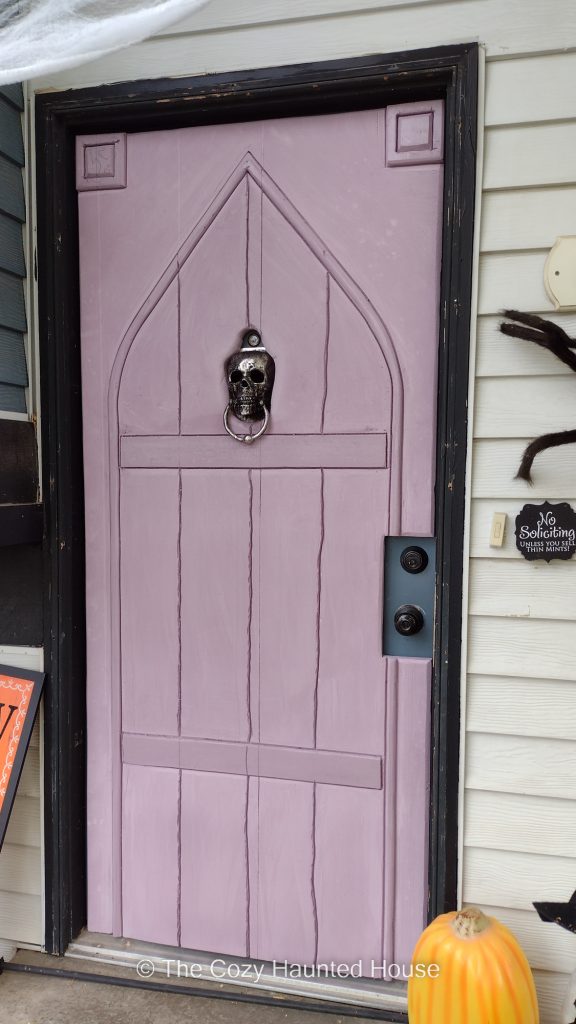
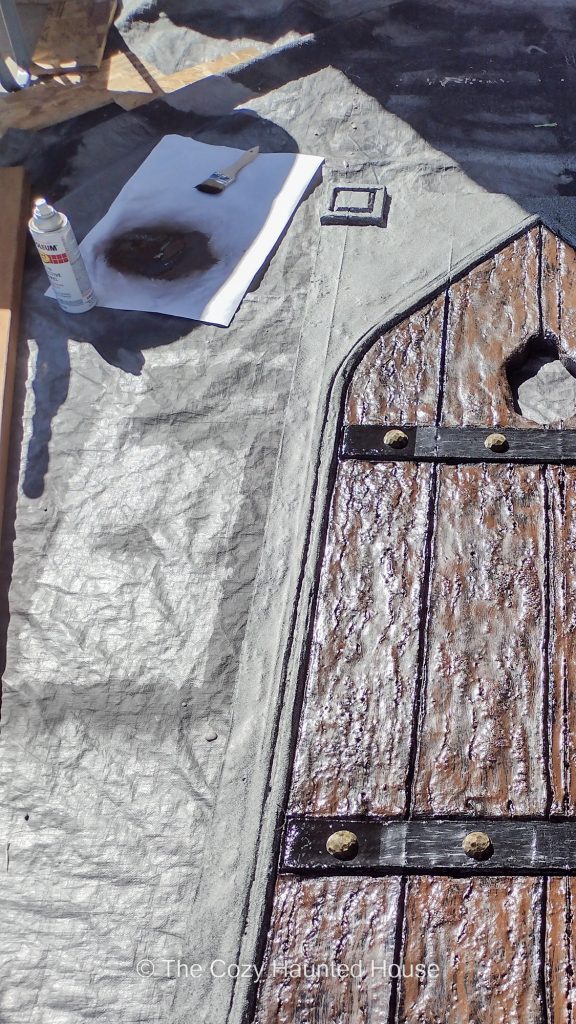
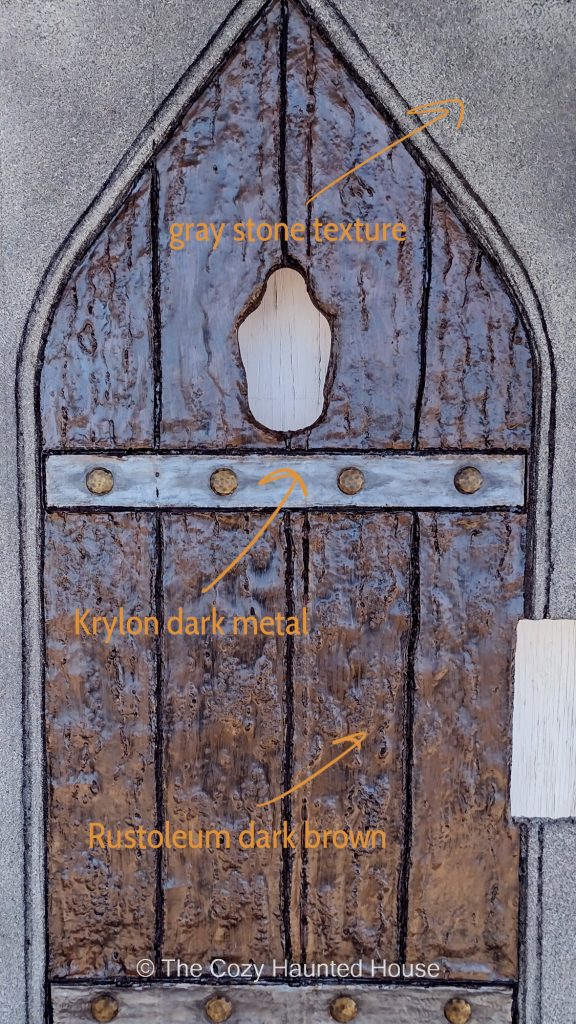
For the wood, use a Rustoleum satin dark brown spray paint. I sprayed this onto a piece of paper and used a cheap, heavy bristled chip paint brush to dry brush the brown over the top of the black coat. I wanted the black to show through in a lot of parts, giving the door a more realistic wood appearance.
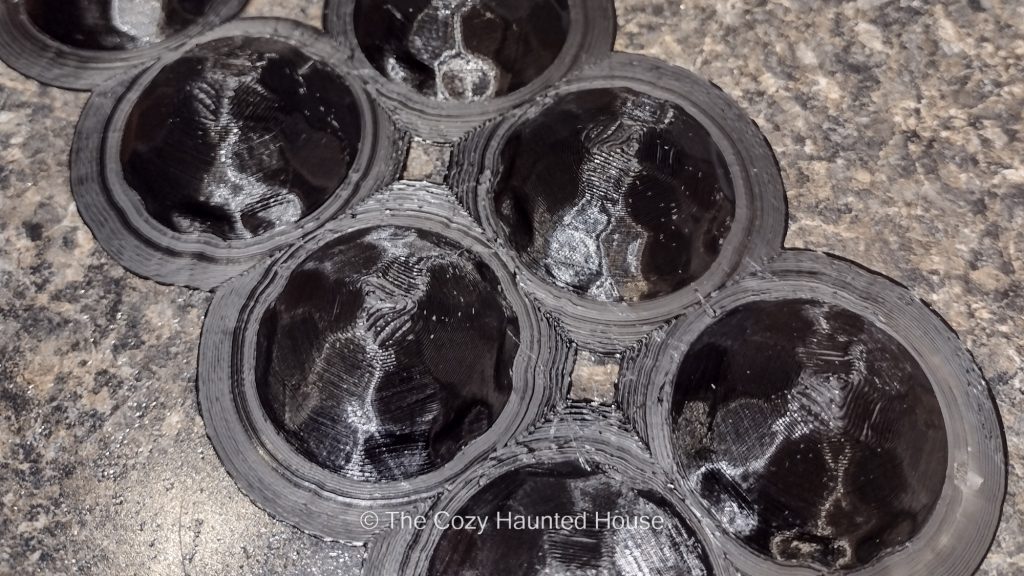
For the rivets on the metal bars, I designed and 3D printed 8 rivet domes. Let us know if you’d like a copy of the STL so you can print them yourself.
Dry brush these with gold acrylic paint. I also dry-brushed black acrylic paint around them to give the appearance of dirt and wear.
Secure these to the door with hot glue and let dry.
After I had finished painting, I wanted to do a protective coating. For the wood portion of the door, I wanted it to be a matte finish. I used Rustoleum clear matte spray paint
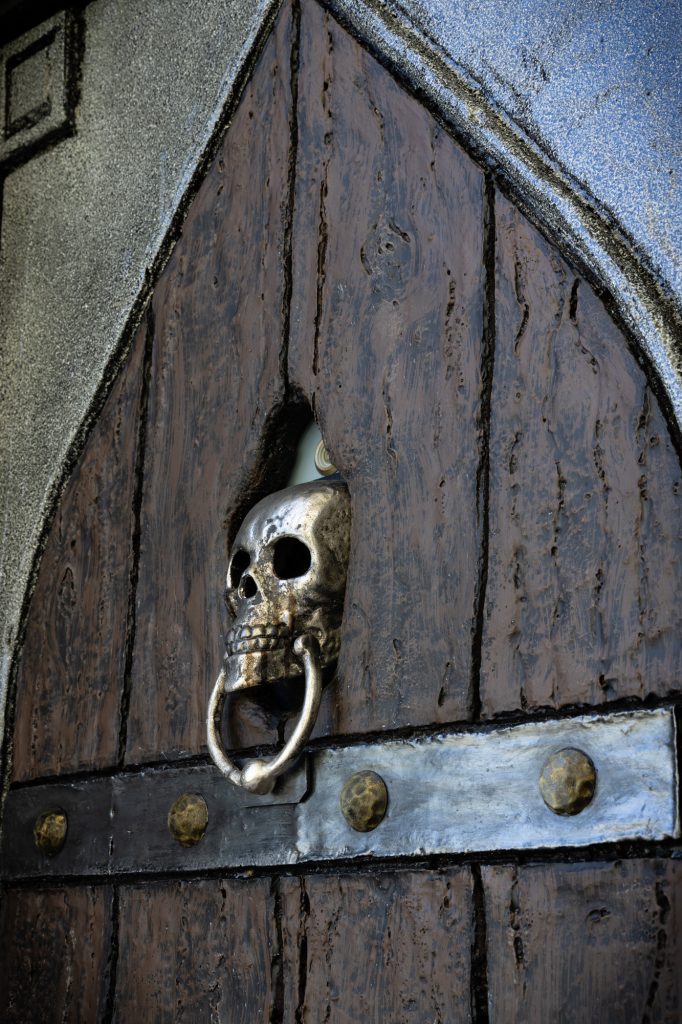
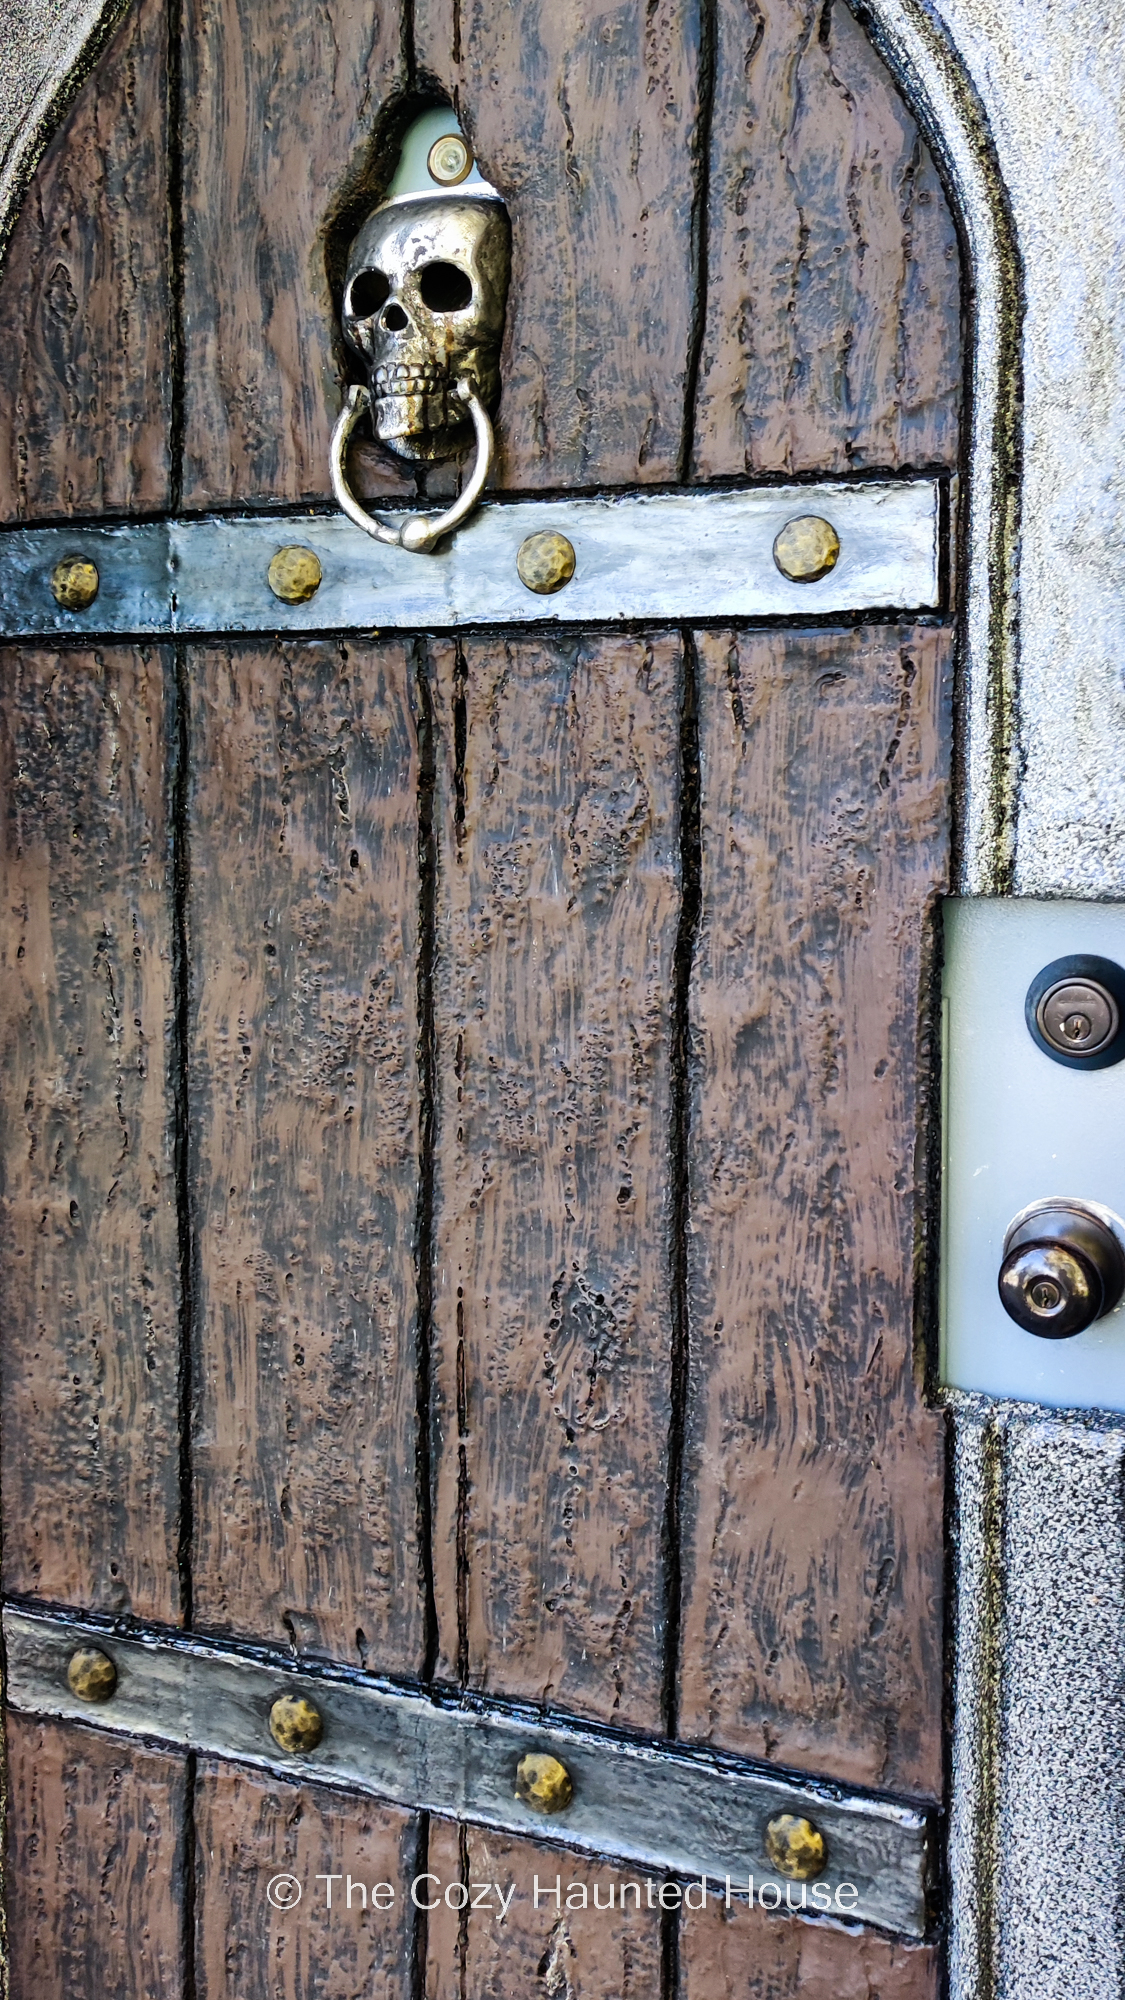
Because we had the knocker, we cut a 1″x3″ of aluminum and superglued it behind the knocker, and painted it to match the metal bar. We wanted our guests to be able to use the knocker, but not have a chance of cracking the Rondo.
Before placing your Command Strips, clean your door and the back of the foam board with isopropyl alcohol and dry with a clean cloth. This will help it stay attached. For easy placement, put the velcro strips together, peel the back off, stick it to the foam, then remove the other side and press into place.
When you visit our website, it may store information through your browser from specific services, usually in the form of cookies. Here you can change your Privacy preferences. It is worth noting that blocking some types of cookies may impact your experience on our website and the services we are able to offer.
Click to enable/disable Google Analytics tracking code.
Click to enable/disable Google Fonts.
Click to enable/disable Google Maps.
Click to enable/disable video embeds.
Our website uses cookies, mainly from 3rd party services. Define your Privacy Preferences and/or agree to our use of cookies.